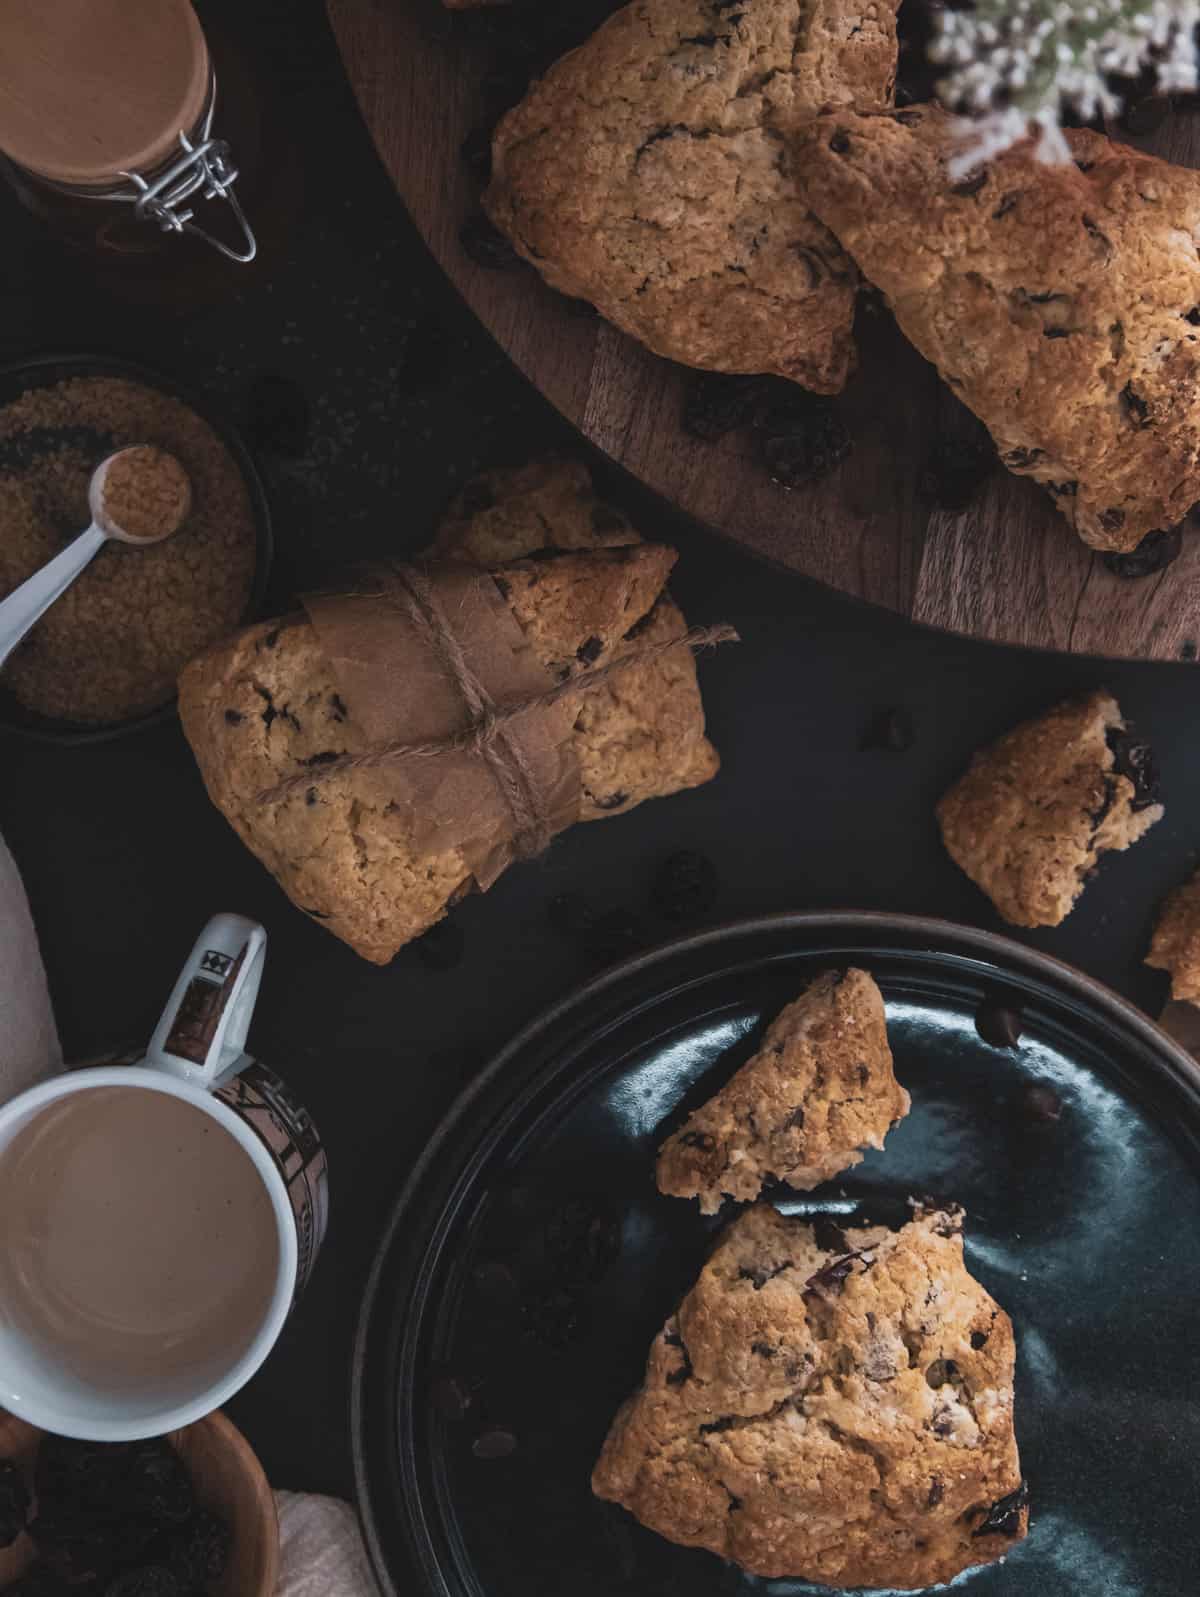
Chocolate cherry scones are packed with semi-sweet chips and mildly tart dried cherries. Whip these up in just a few minutes and serve warm with a hot cuppa tea.
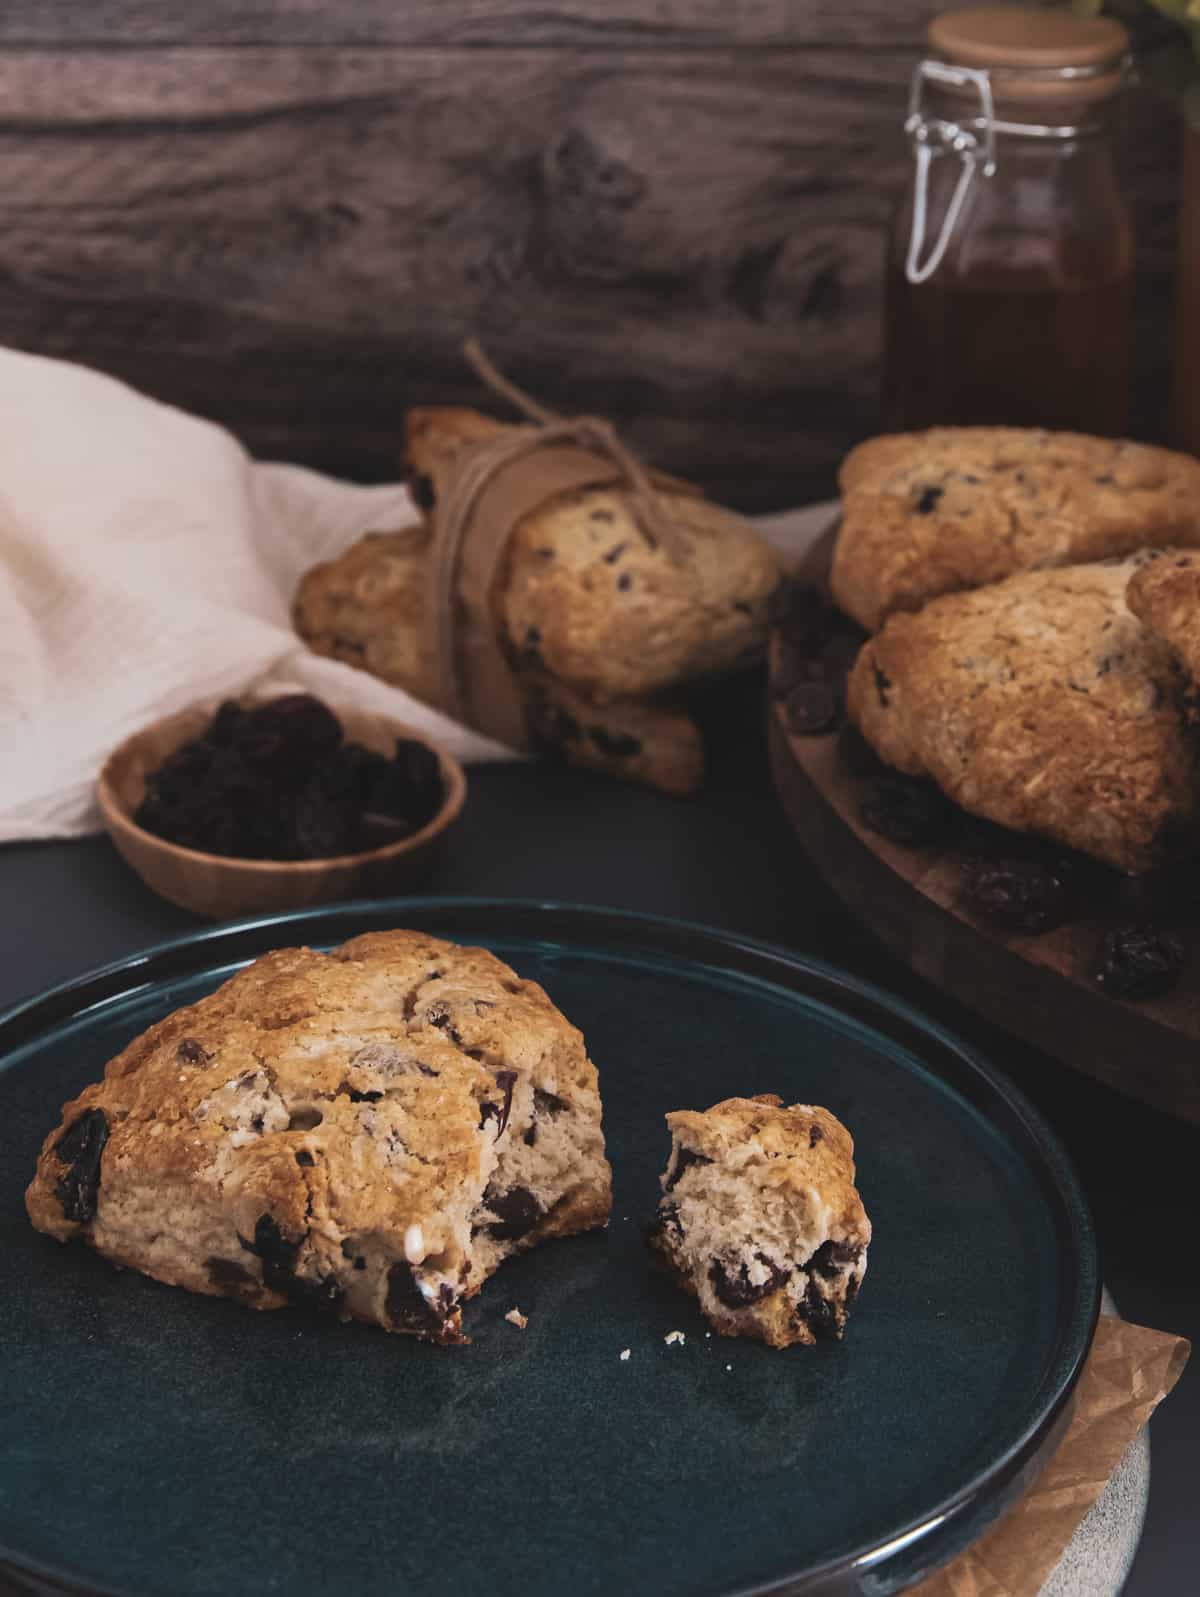
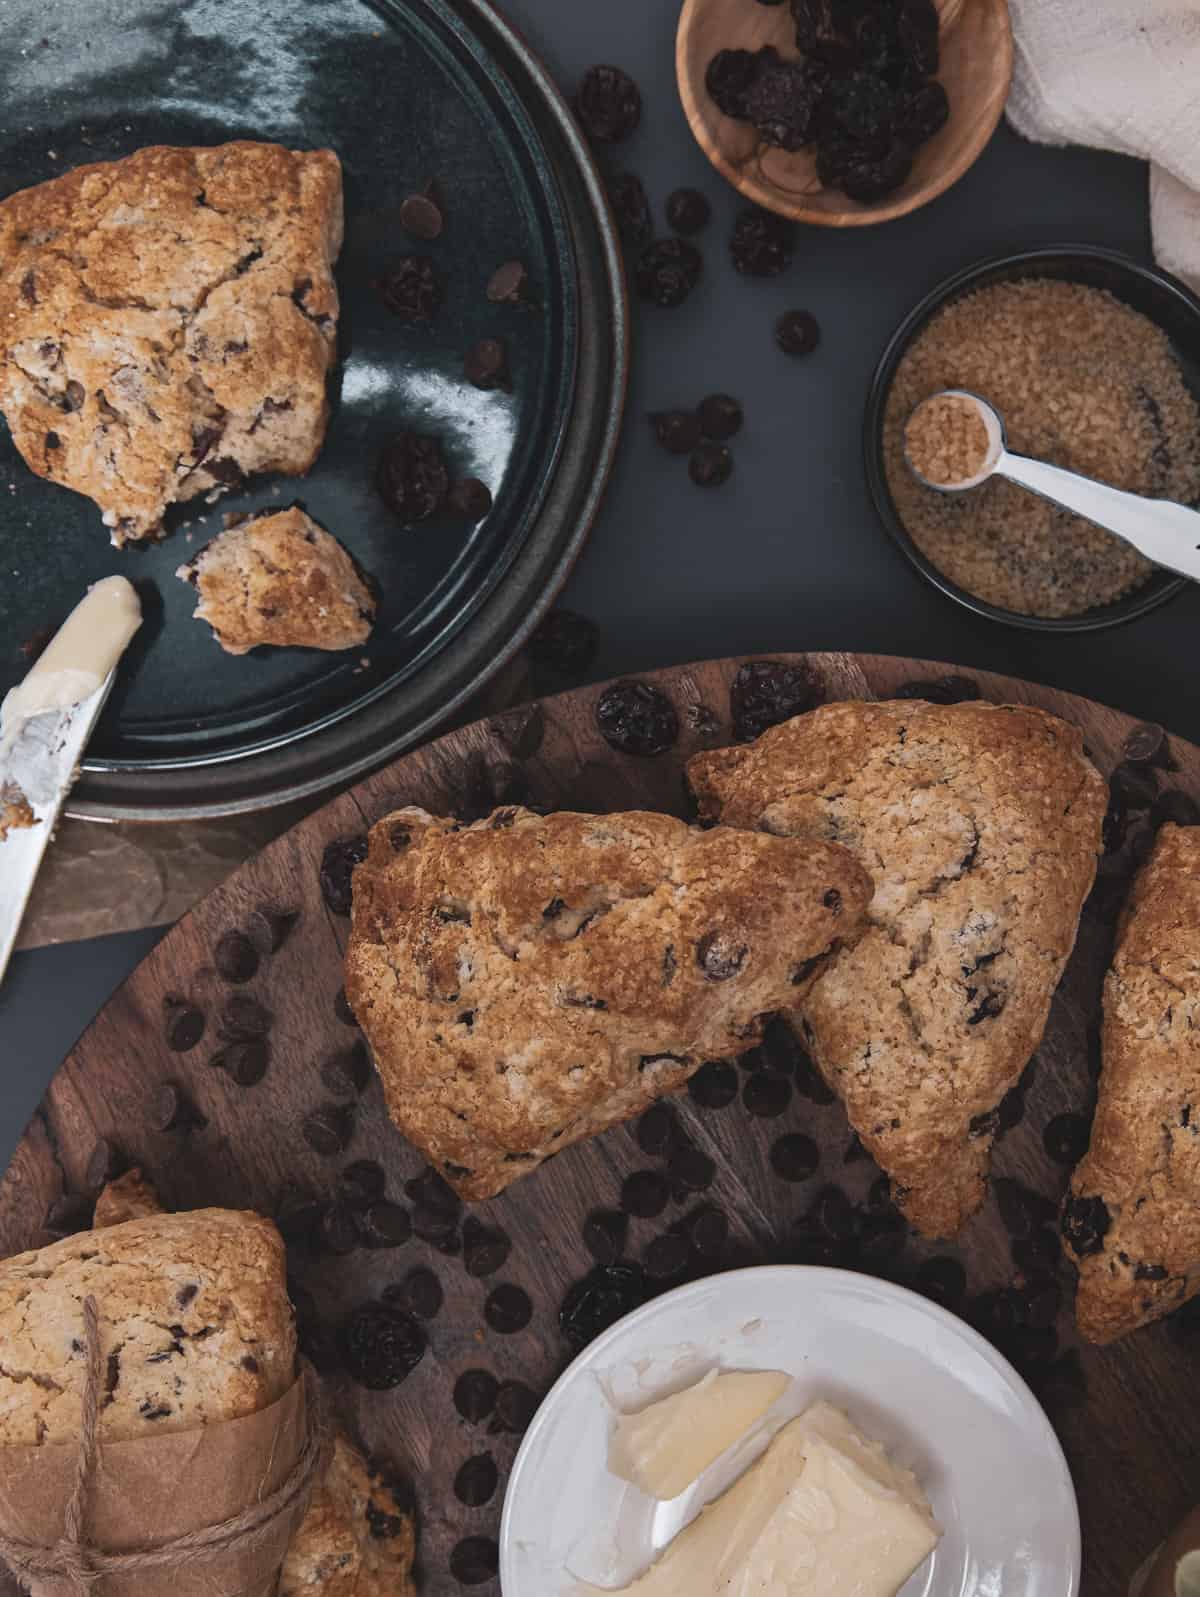
Chocolate-Cherry Scones are so delicious! I like to enjoy mine with a drizzle of honey or a spread of butter. They're like a huge cookies just not as gooey.
Jump to:
Important Ingredients with Substitutions
- All-Purpose Flour
- Granulated Sugar
- Salt
- Baking Powder
- Unsalted Butter, frozen
- Heavy Cream
- Egg
- Vanilla Extract
- Chocolate Chunks
- Dried Cherries
- Turbinado sugar for topping
See the recipe below for the full list of ingredients and quantities.
Instructions for chocolate cherry scones
- Preheat your oven to 400 F, and line a baking sheet with parchment paper or a Silpat.
- In a large bowl whisk together the all-purpose flour, sugar, salt, and baking powder. Set this aside.
- Using a box grater or cheese grater to grate 1 stick of frozen unsalted butter.
- Adding the grated frozen butter to the flour mixture. Using your hands or a pastry cutter mix the butter into the flour until you have pea-sized flour crumbs.
- Store your flour/butter mixture in the freezer to keep cold while prepping the rest of the ingredients.
- In a medium bowl add the heavy cream, egg, and vanilla. Whisk to combine.
- Remove the flour mixture from the freezer. Add the cream mixture, dried cherries, and chocolate chips to the flour.
- Mix together until combined. The mixture will be wet and crumbly. Using a wooden spoon, hand mixer or stand mixer are all acceptable to use for this step.
- Pour out onto a well-floured surface and shape into an 8-disk. Use a silicone mat with measurements to make this process easier.
- Using either a sharp knife or bench scraper, dip it into flour then cut the disk into 8 wedges.
- Place your wedges on your prepared baking sheet. Leaving about 2 inches of space in between.
- Brush the tops with heavy cream using a silicone brush or pastry brush. At this time sprinkle the top with turbinado sugar.
- While waiting for the oven to preheat, stick the baking sheet in the fridge to stay cool while you wait. 10 minutes at least.
- Bake for 20-25 minutes until lightly golden and the cream has set on top.
- Allow to cool for at least 10 minutes.
Level Up with a Top Tip!
Hint: Keep a few sticks of butter in your freezer for recipes like this!
Storage Recommendations
Scones will be at their freshest stored in an airtight container for 1-2 days. Homemade scones will last about a week in the fridge.
If you plan on freezing scones allow them to cool completely first before adding to a freezer-safe container. Store in the freezer for up to 3 months.
Can I make scone dough ahead of time? Prepare your scone recipe up until you're ready to bake. Place them on a baking sheet in the freezer so they can firm up, roughly 2 hours. Place the unbaked scone dough in a freezer-safe container until you're ready to bake. Frozen scone dough will keep for 2 months.
Level Up With Expert Tips & Tricks
Using a silicone mat with measurements will ensure your scone disk is the correct size around, which will also help to create the correct thickness of about 1.5 inches.
Make sure your butter is very very cold or frozen. Similar to a pie crust cold butter will help in the beautiful scone texture.
Avoid kneading your scone dough. Think, fluffy biscuit, to achieve that texture we don't want to handle the dough too much.
Recipe FAQs
Even though we've added frozen butter to our scone dough, chilling it before baking will ensure that the butter stays cold before baking. During the mixing, shaping, and cutting process our hands and tools made the dough warm enough for the butter to start melting.
Yes! This is especially okay since we added frozen butter to the scone dough. Prepare your scone recipe up until you're ready to bake. Place them on a baking sheet in the freezer so they can firm up, roughly 2 hours. Place the unbaked scone dough in a freezer-safe container until you're ready to bake. Frozen scone dough will keep for 2 months.
Similar Sweets
Looking for other recipes like this? Try these:


Chocolate Cherry Scones
Equipment
- silicone mat with measurments
Ingredients
- 2 cups All-Purpose Flour additional for your work surface
- ½ cup Granulated Sugar
- ½ teaspoon Salt
- 2 ½ teaspoons Baking Powder
- ½ cup Unsalted Butter frozen
- ½ cup + 2 tablespoons for brushing Heavy Cream
- 1 large Egg
- 1 ½ teaspoons Vanilla Extract
- ¾ cup Chocolate Chunks
- ¾ cup Dried Cherries
- Turbinado sugar for topping
Instructions
- Preheat your oven to 400 F, and line a baking sheet with parchment paper or a Silpat.
- In a large bowl whisk together the all-purpose flour, sugar, salt, and baking powder. Set this aside.
- Using a box grater or cheese grater to grate 1 stick of frozen unsalted butter.
- Adding the grated frozen butter to the flour mixture. Using your hands or a pastry cutter mix the butter into the flour until you have pea-sized flour crumbs.
- Store your flour/butter mixture in the freezer to keep cold while prepping the rest of the ingredients.
- In a medium bowl add the heavy cream, egg, and vanilla. Whisk to combine.
- Remove the flour mixture from the freezer. Add the cream mixture, dried cherries, and chocolate chips to the flour.
- Mix together until combined. The mixture will be wet and crumbly.
- Pour out onto a well-floured surface and shape into an 8-disk. Use a silicone mat with measurements to make this process easier.
- Using either a sharp knife or bench scraper, dip it into flour then cut the disk into 8 wedges.
- Place your wedges on your prepared baking sheet. Leaving about 2 inches of space in between.
- Brush the tops with heavy cream using a silicone brush or pastry brush. At this time sprinkle the top with turbinado sugar.
- While waiting for the oven to preheat, stick the baking sheet in the fridge to stay cool while you wait. 10 minutes at least.
- Bake for 20-25 minutes until lightly golden and the cream has set on top.
- Allow to cool for at least 10 minutes.
Notes
- Make sure your butter is very very cold or frozen. Similar to a pie crust cold butter will help in the beautiful scone texture.
Leave a Reply