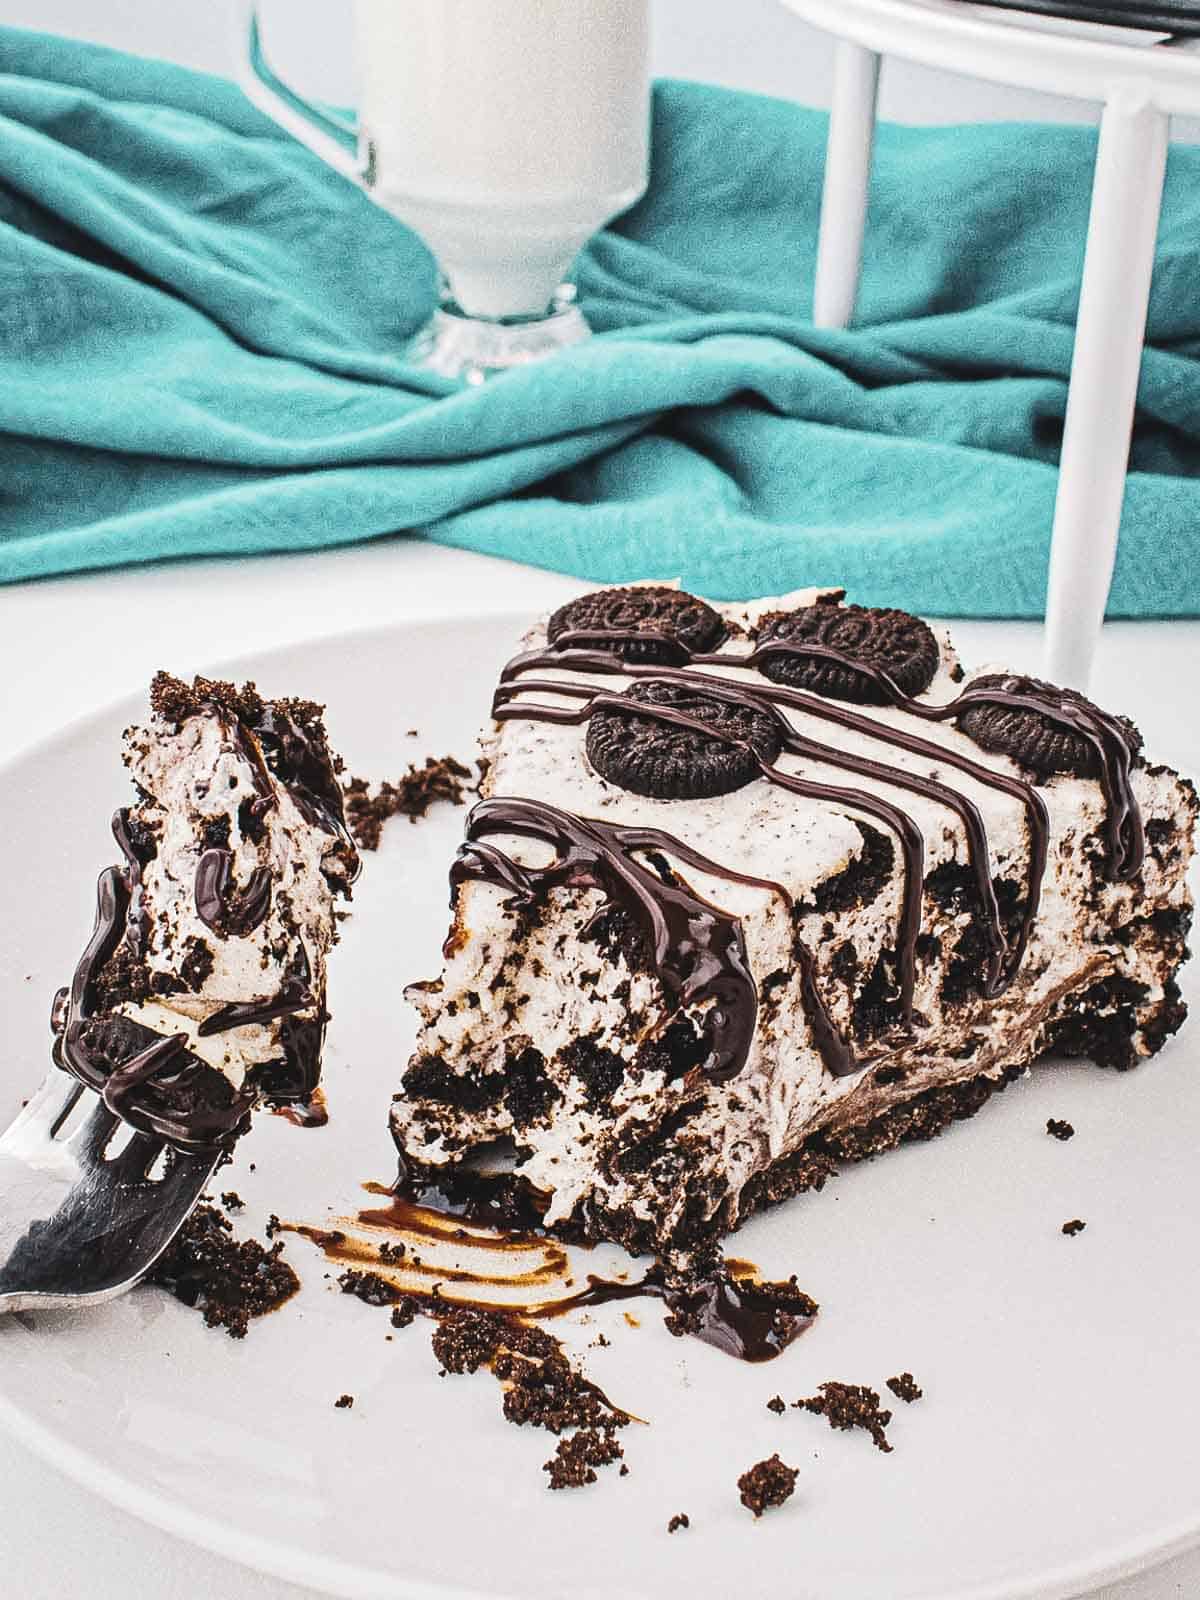
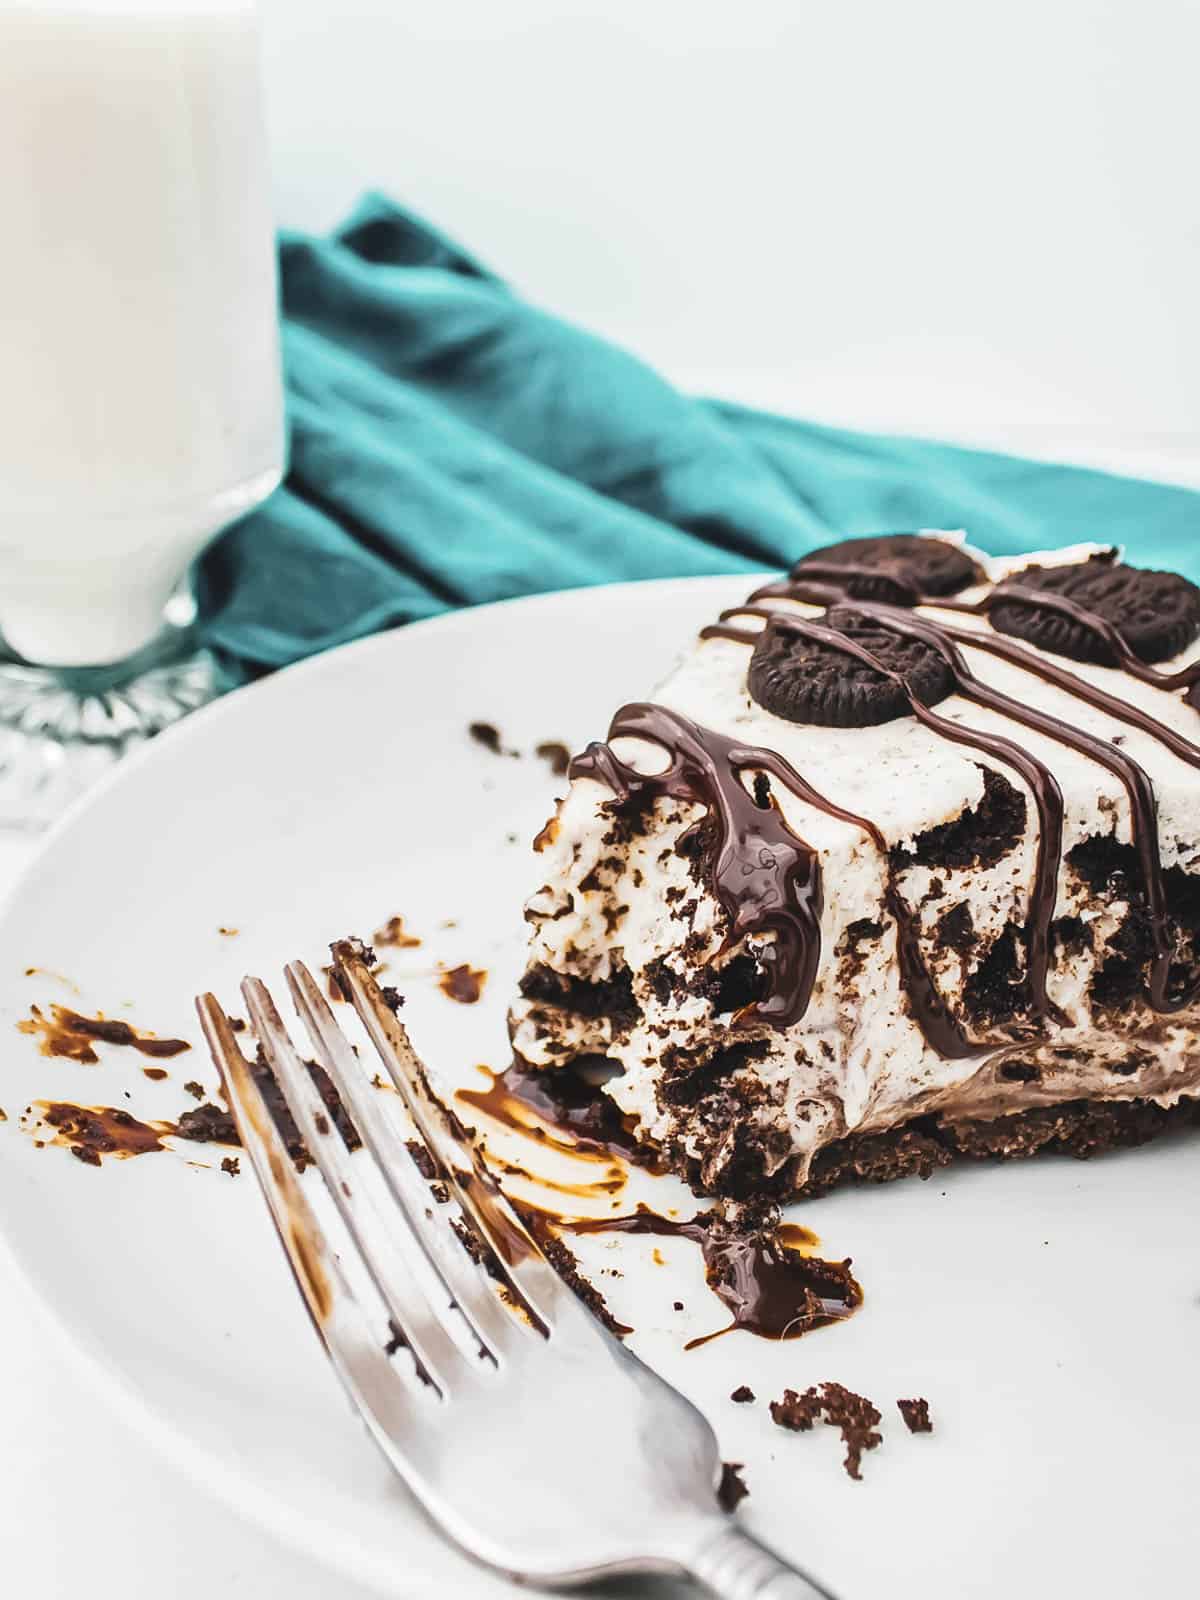
Enjoy this thick and creamy White Chocolate Oreo Cheesecake! A perfect No Bake dessert everyone will love. Cookies and cream are the best combination. Pair this with a tall glass of milk and even more Oreos!
I made this no-bake Oreo Cheesecake for my son’s 13th Birthday. I will say, my son has never had cheesecake before. He’s a pretty picky eater, so I know if I added Oreos to a cheesecake he would at LEAST try it! And it was a HIT! He and his friends ate it up quickly.
Fun fact: Oreo has over 85 different flavors! They even have a mystery flavor. By far, Oreo cookies are my FAVORITE store-bought cookie. Dip into a glass of milk. Delicious! *chefs kiss.
My friend over at Sugar Yums has a very fun and cute lunchbox cake, so your kiddos cake take their birthday cake on the go! And my blogger friend Paula has a pie full of chocolate that I KNOW you'll love, try this Texas Trash Pie!
Jump to:
Important Ingredients with Substitutions
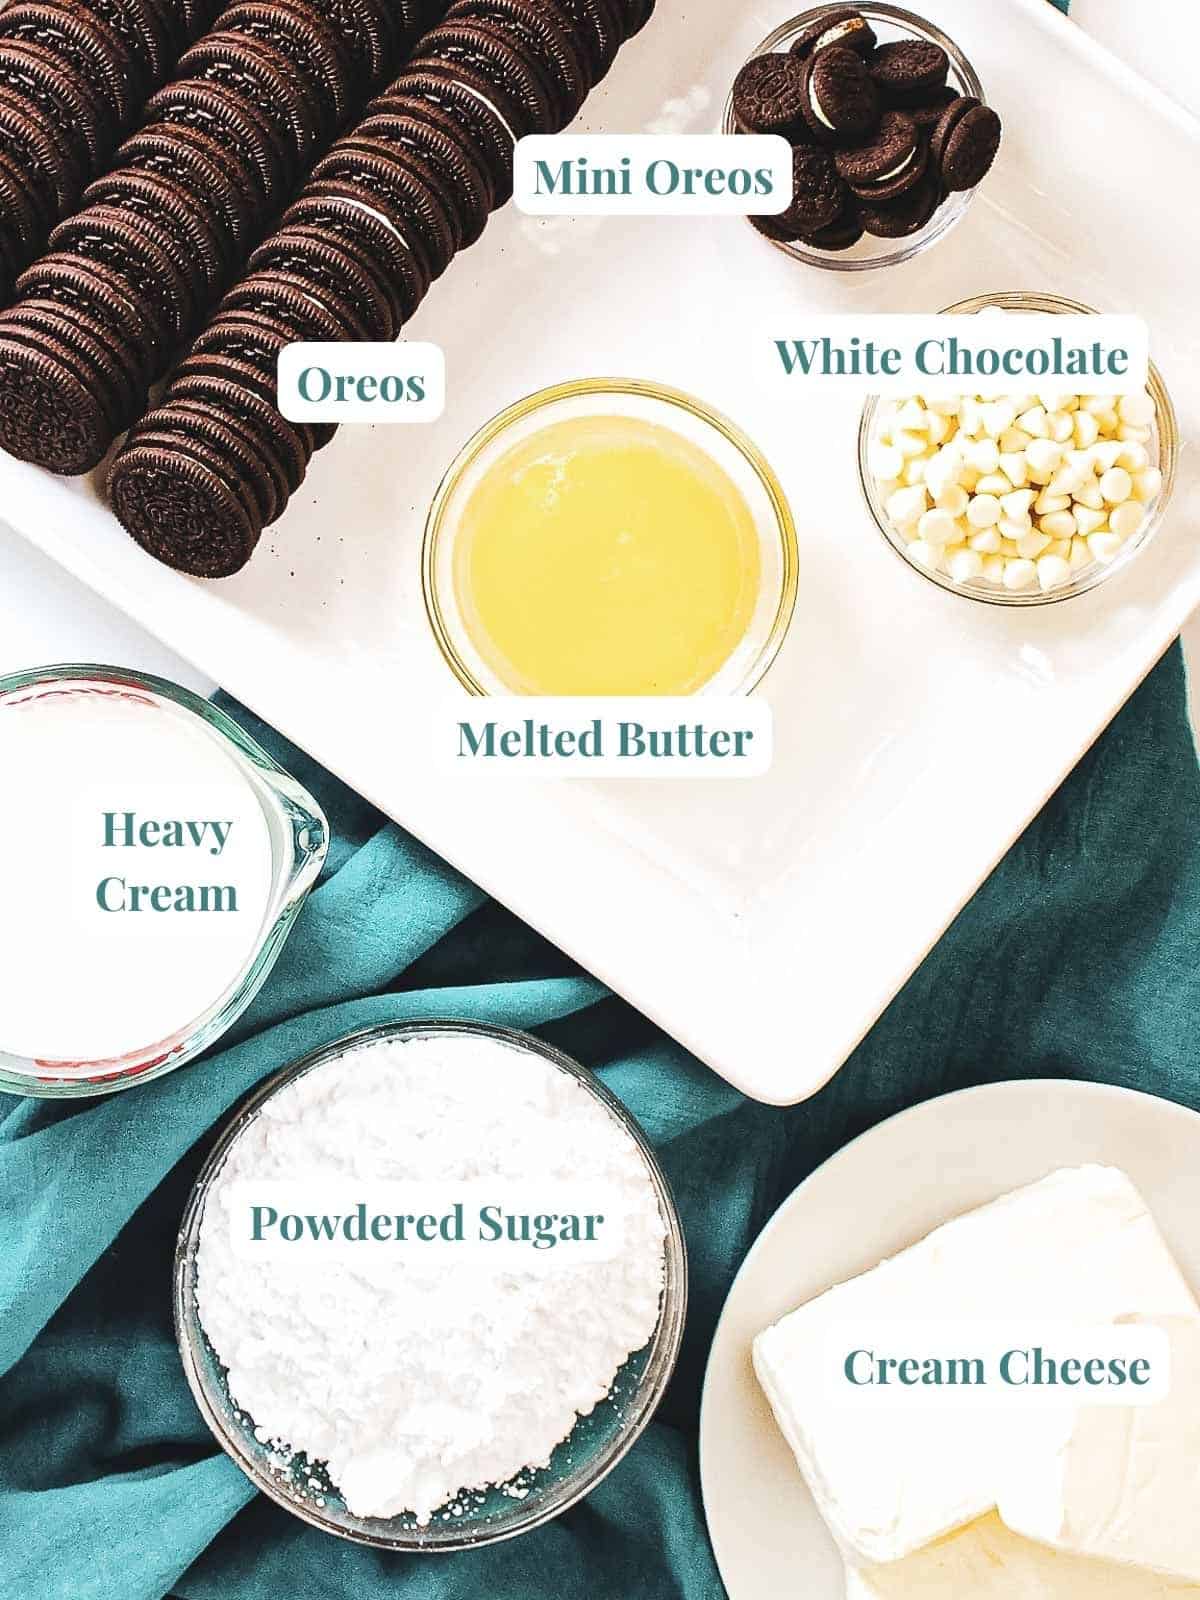
- Butter - unsalted and melted, 30 sec in the microwave to melt the butter.
- Oreo cookies - 50 large Oreo cookies in total, or 2, 300g packages. Regular Oreos, or any of the fun flavors they have you can use.
- Mini Oreos - Small to-go pack of minis will work. Since there is such a huge variety of Oreos, you really can use any kind for your topping.
- White chocolate chips - I enjoy Toll House or Ghiradelli brand, their chips are usually very creamy and have a great white chocolate flavor, which is just as important as the Oreos in this recipe.
- Cream cheese - Philadelphia cream cheese is our Go-To, but any full-fat cream cheese will be perfect. Room temperature works best. Taking your cream cheese out of the fridge the night before will be perfect and allow for easy mixing. Makes for a creamier filling, colder cream cheese can leave lumps in the filling.
- Powdered sugar - I prefer to use the Domino brand. I've tried other brands that end up leaving a chemical/floral aftertaste. If you find this is so with yous, try another brand.
- Heavy cream - Keep chilled until ready to use. If you're fresh out of heavy cream, you can swap this for sour cream.
SOFTENING CREAM CHEESE
Check out my awesome tips on how to get room-temperature cream cheese quickly.
See the recipe below for the full list of ingredients and quantities.
Instructions for Oreo Cheesecake with White Chocolate
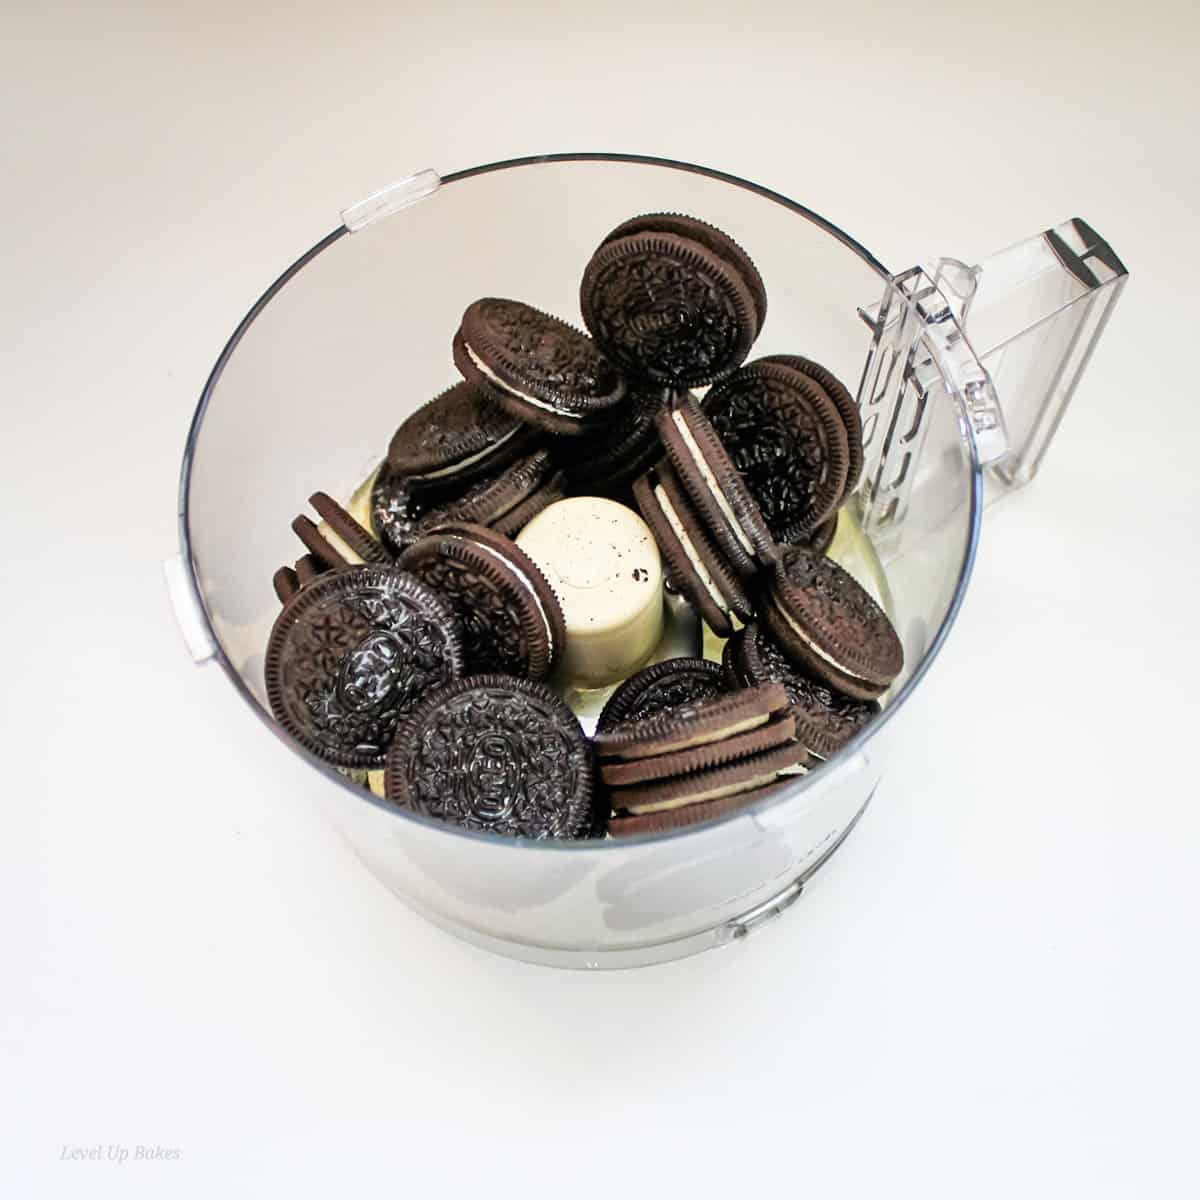
Step 1: Add melted butter and 25 Oreo cookies to a food processor. Process until combined and the mixture starts to come together. You'll want the cookies broken down pretty well into fine Oreo crumbs.
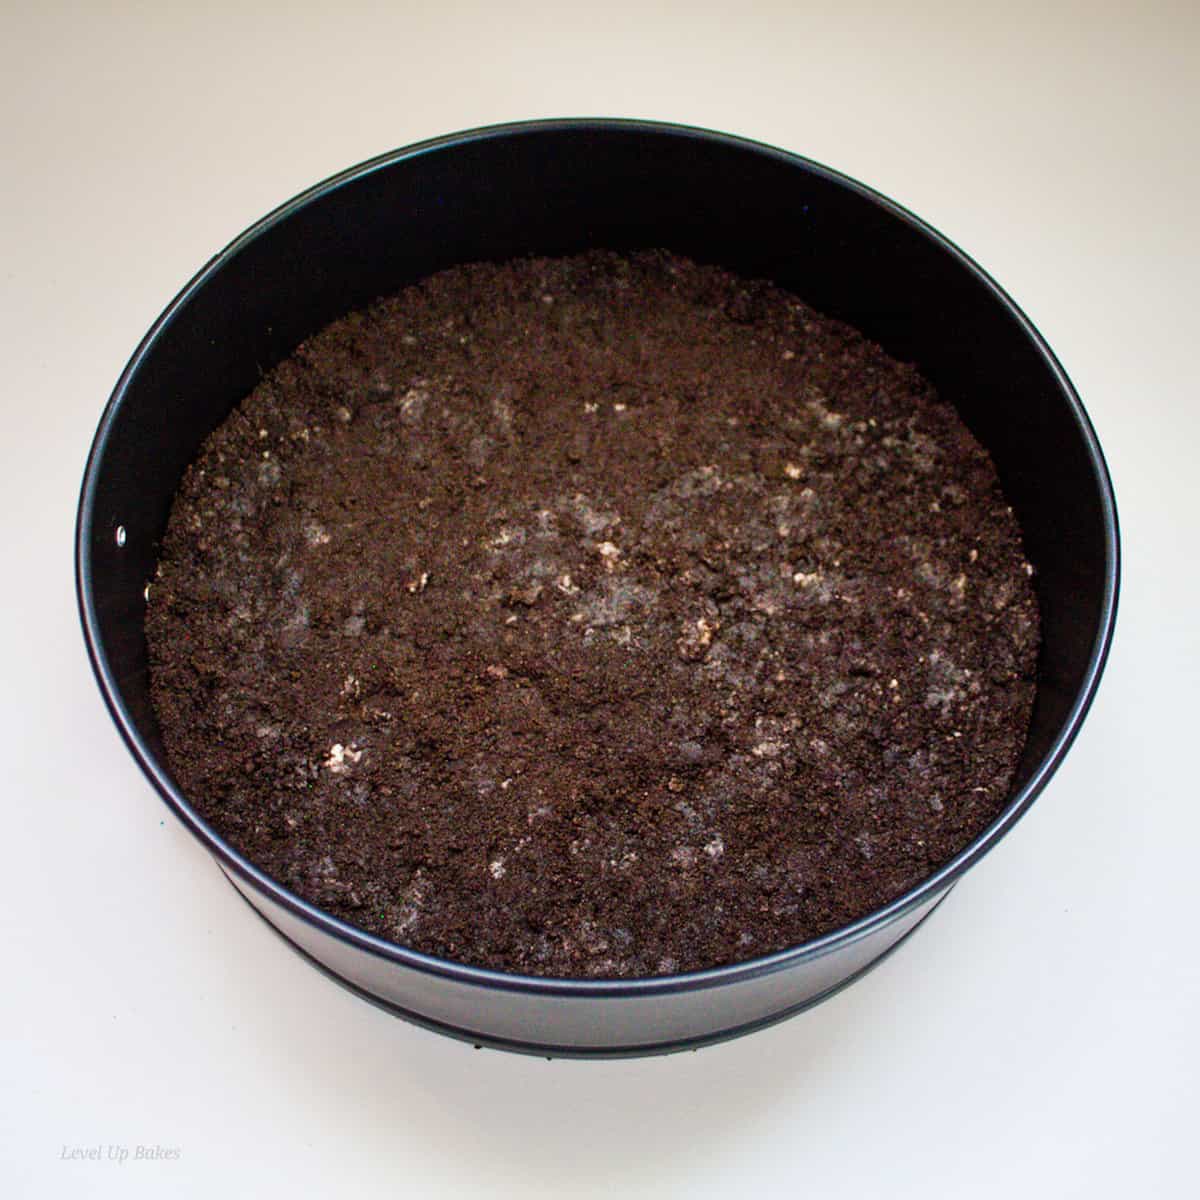
Step 2: Pour Oreo crumbs into a pie pan or 9" springform pan. Using your hand or a glass, press the Oreo crust mixture into the bottom and ½ inch up the side. Make sure to compress the cookies firmly so the cream cheese filling doesn't start to mix into your cookie crust.
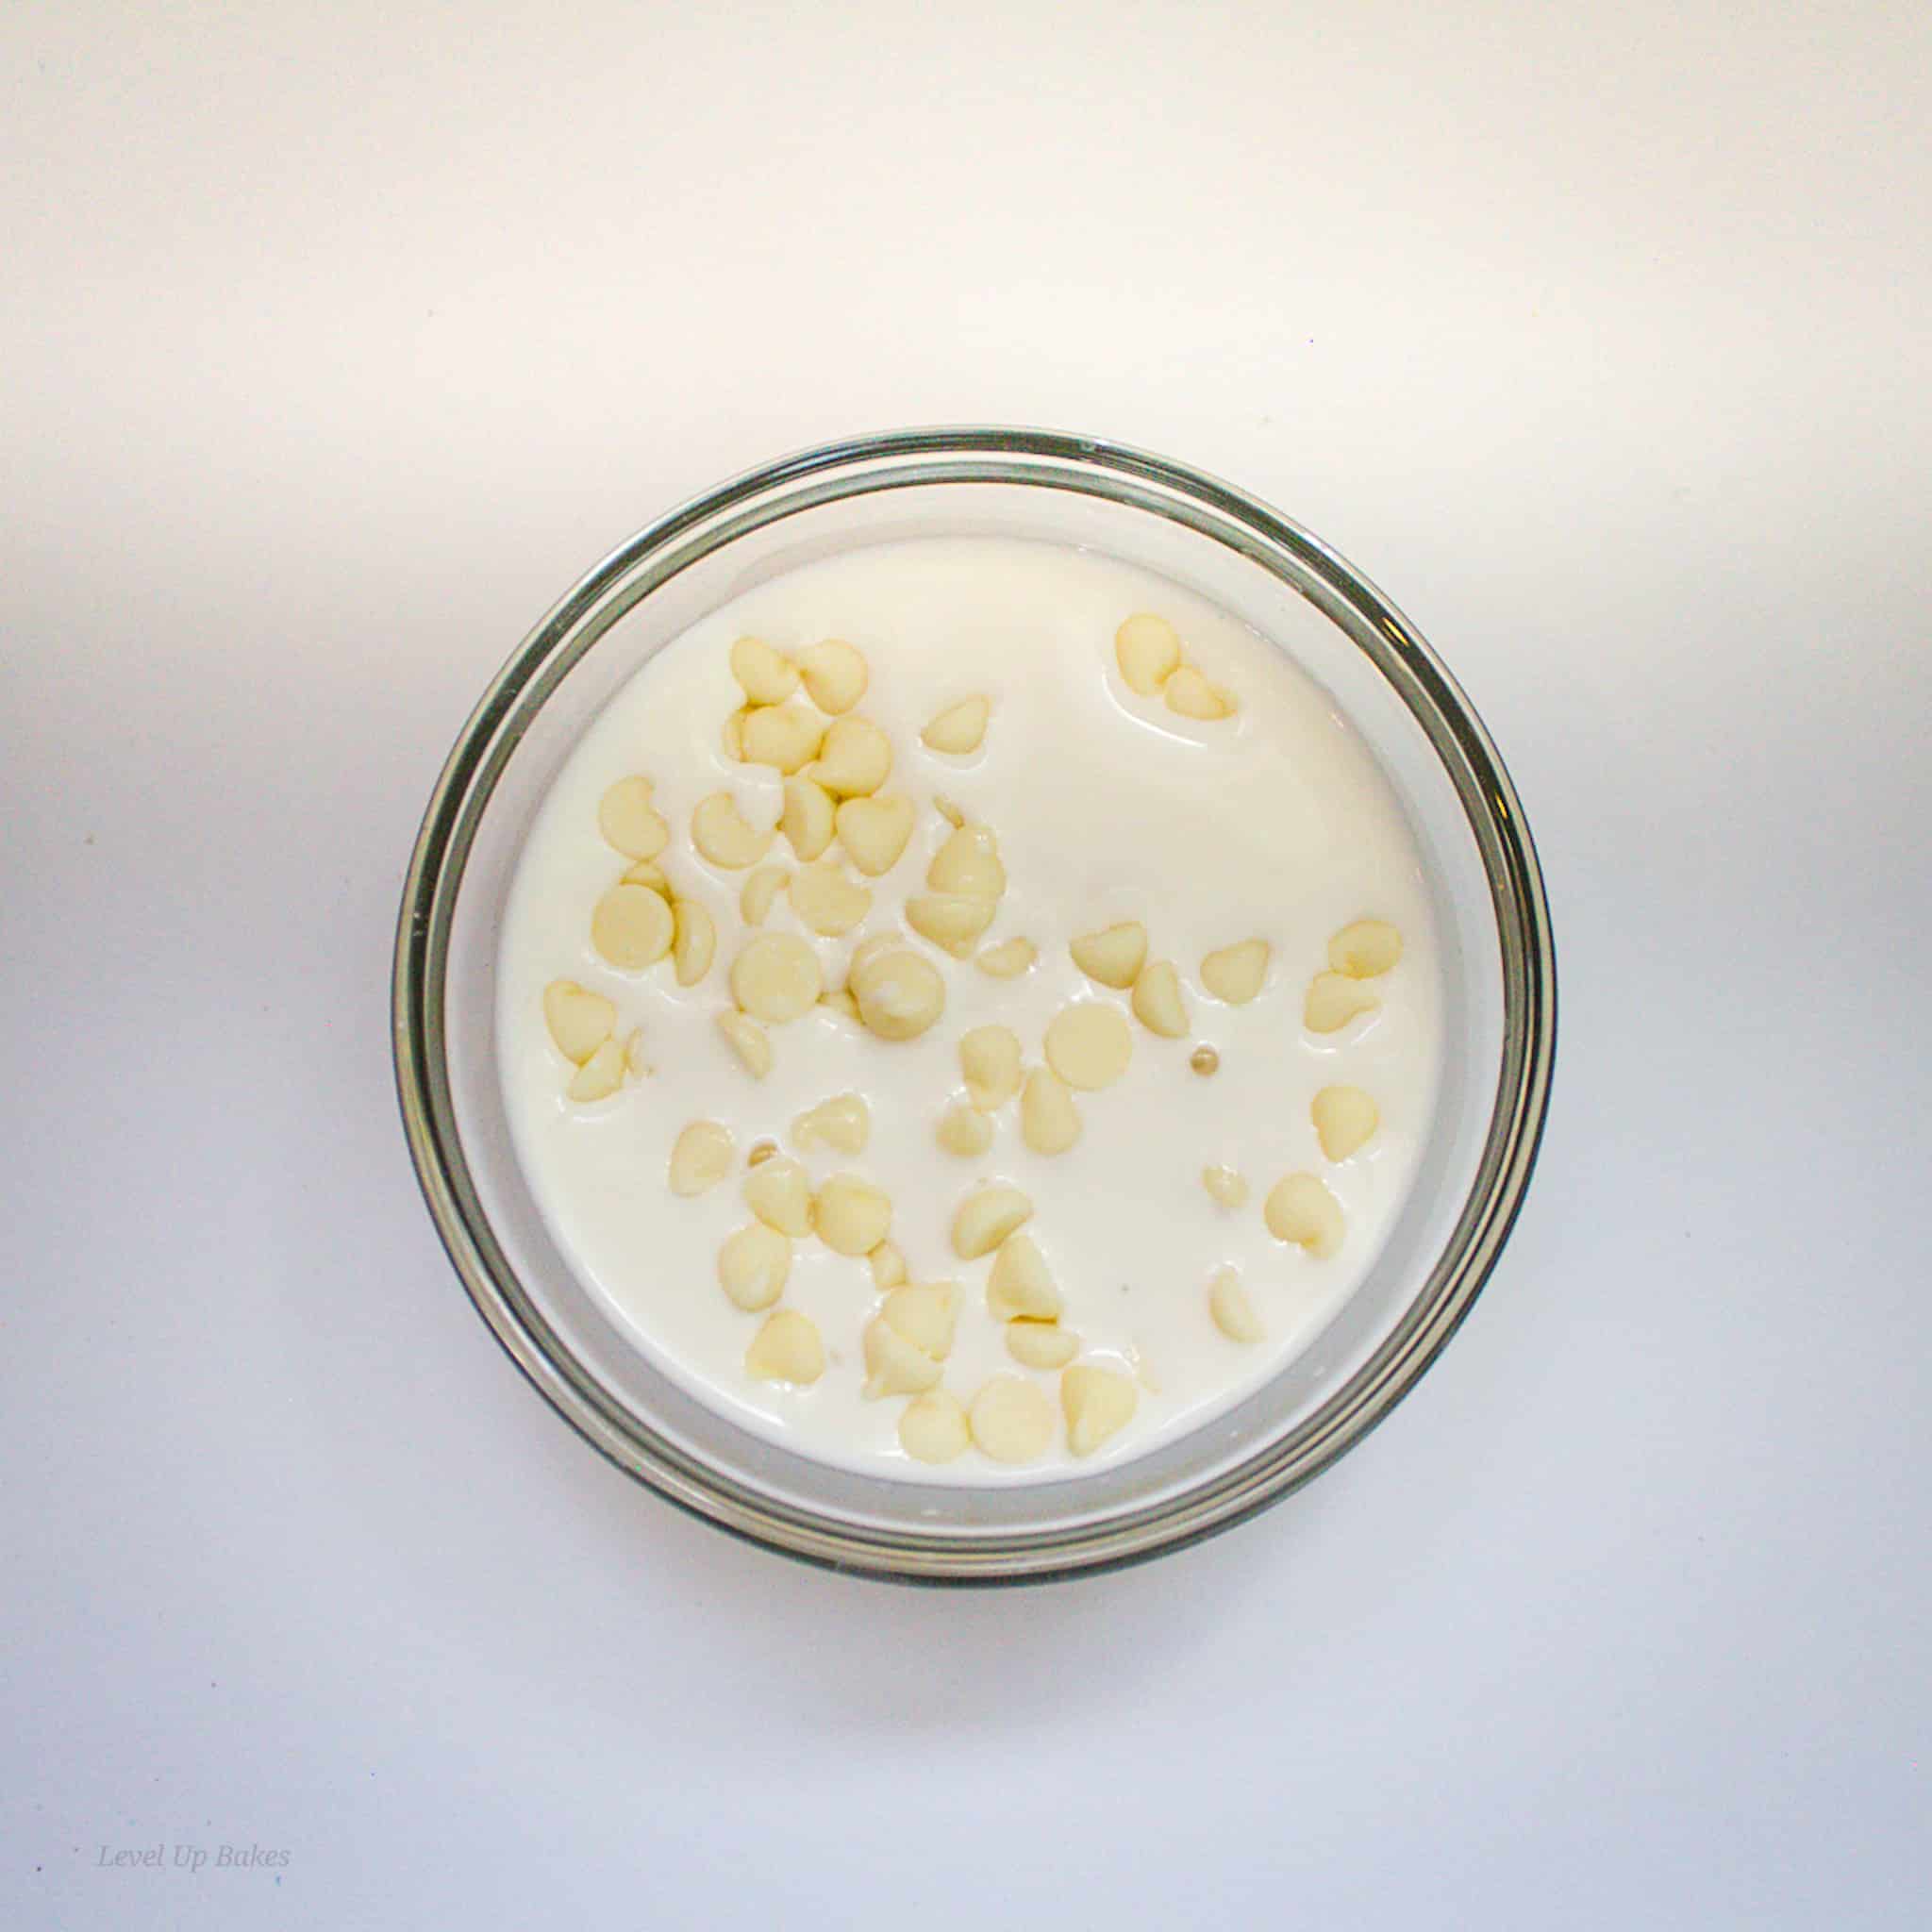
Step 3: In a medium bowl, add white chocolate chips and ¼ cup heavy whipping cream.
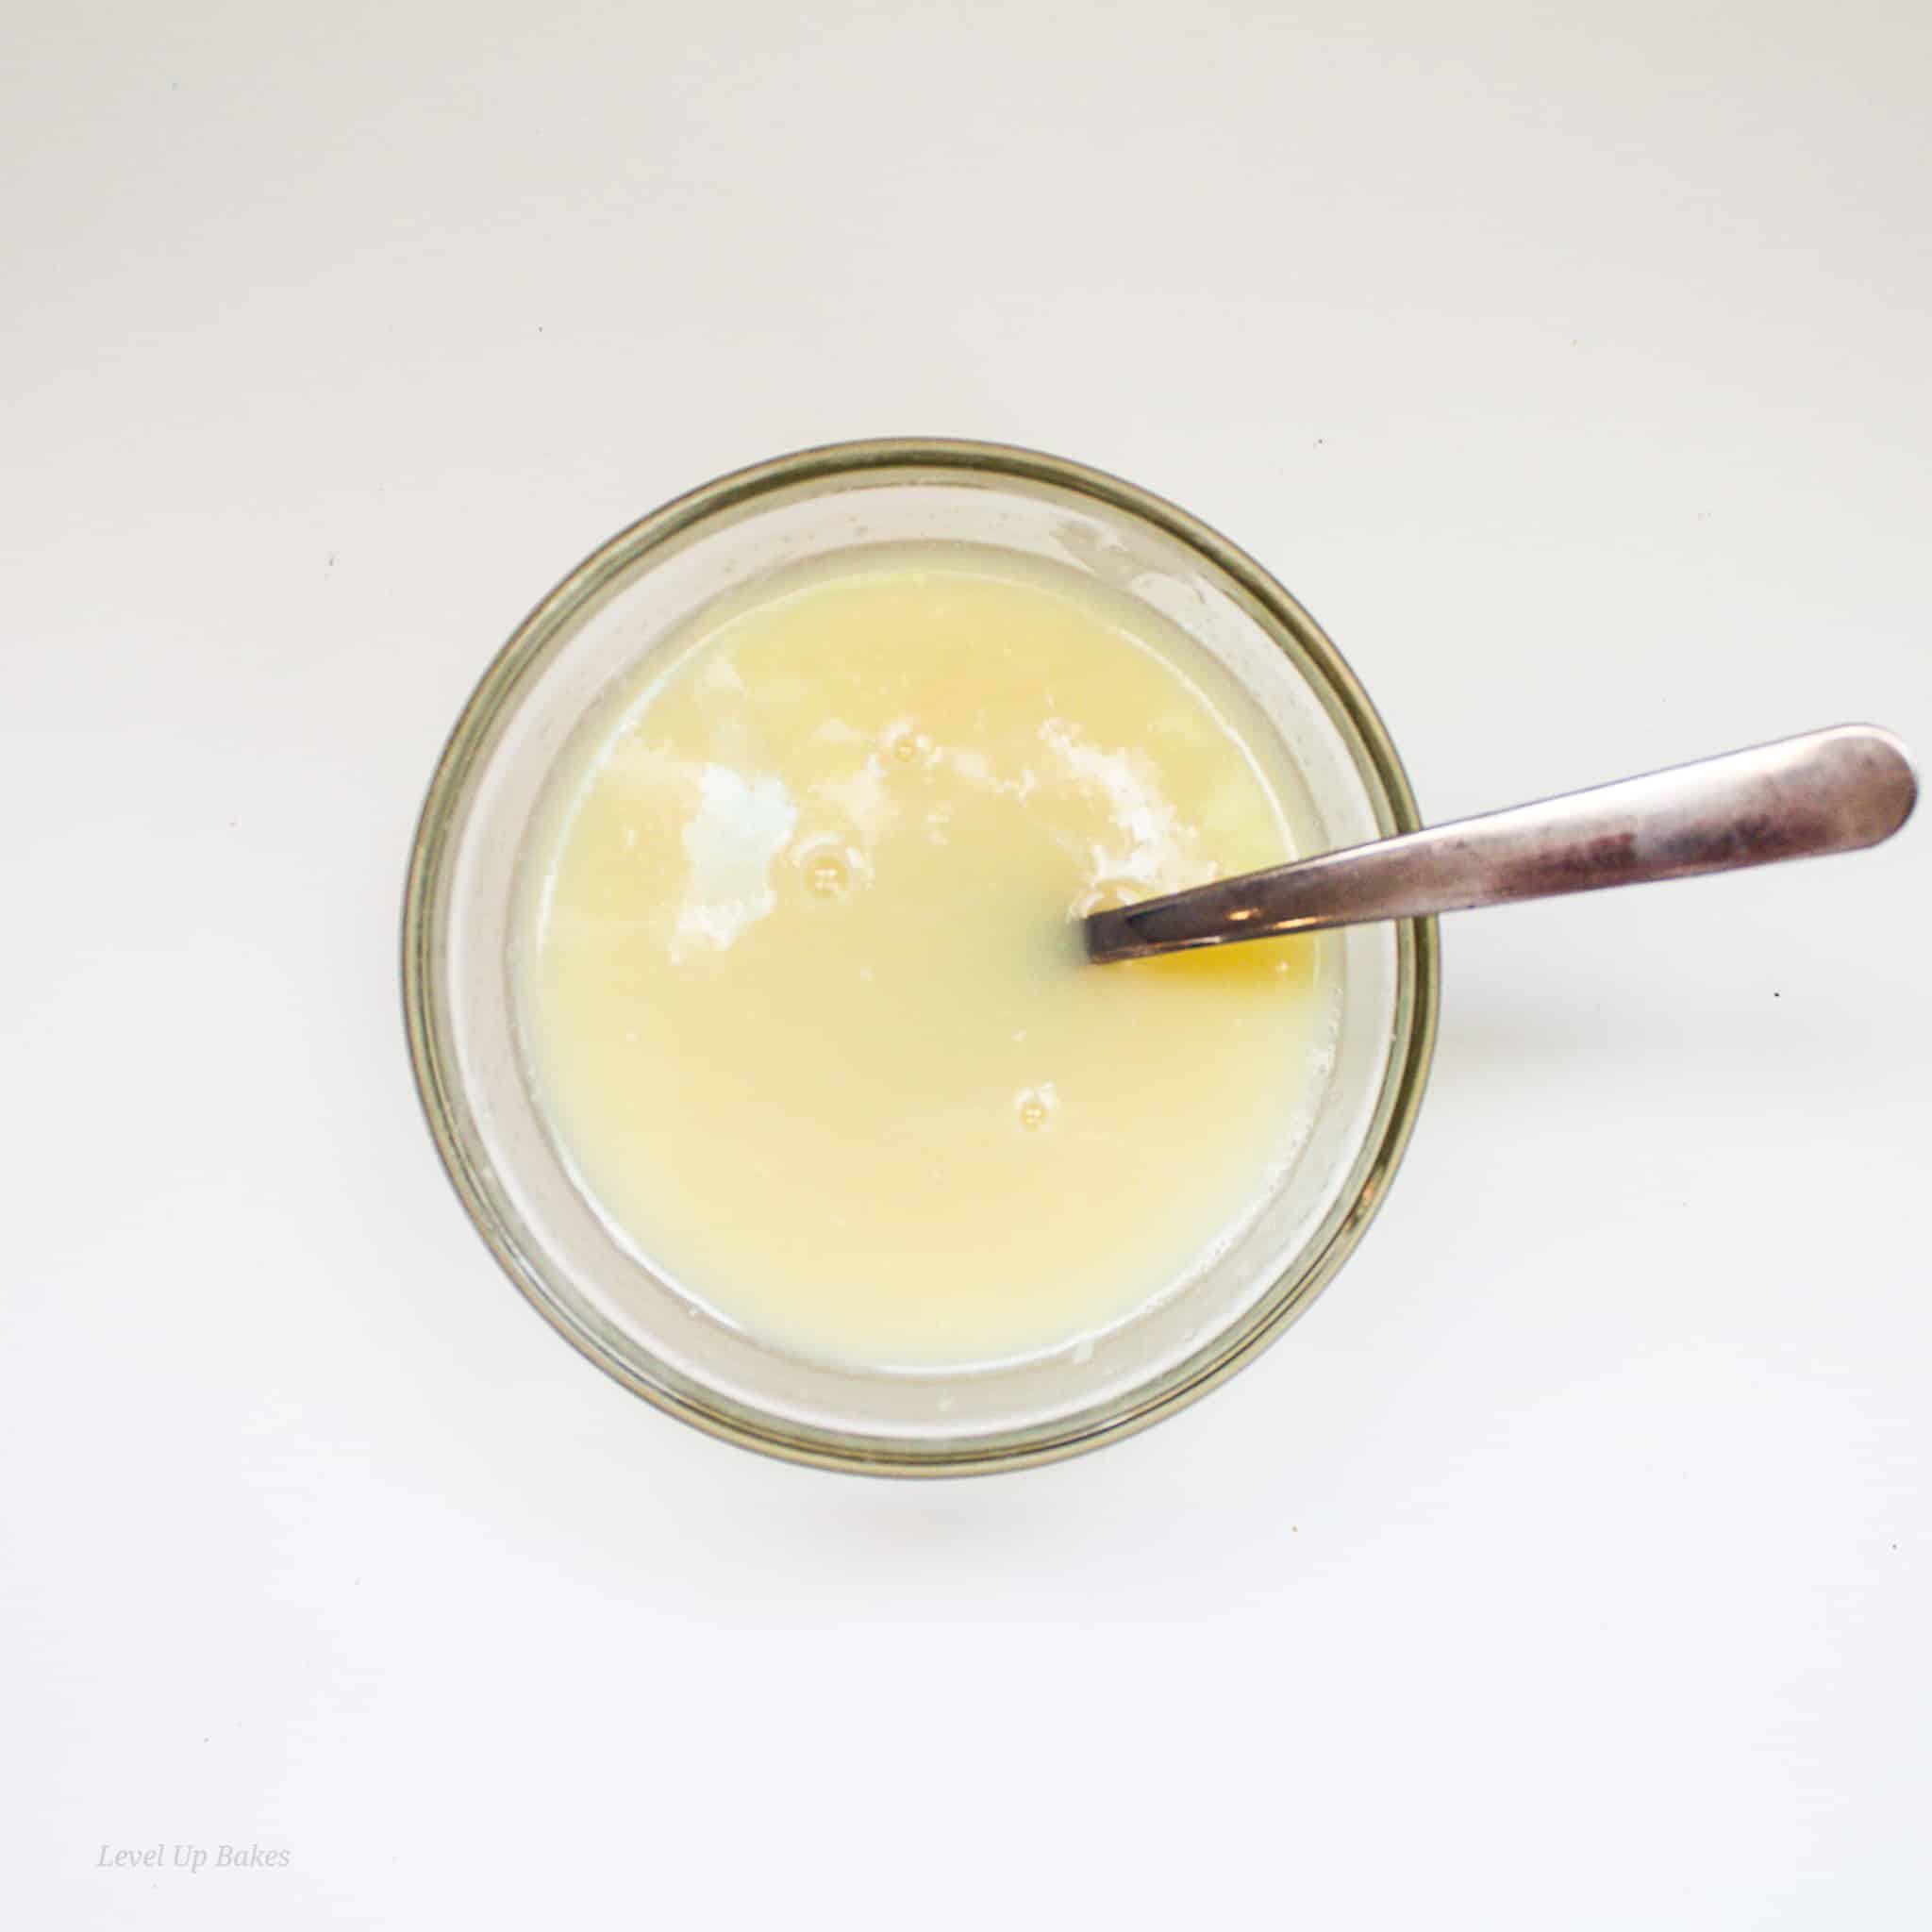
Step 4: Microwave, stirring every 20 seconds until melted. This might take 2 or 3 20-second increments, depending on the power of your microwave.
Step 5: In a large bowl use a hand mixer to beat cream cheese until soft and smooth. If your cream cheese has been sitting out for an hour, the cream cheese will cream and soften much faster than if you are just taking the cream cheese out of the fridge.
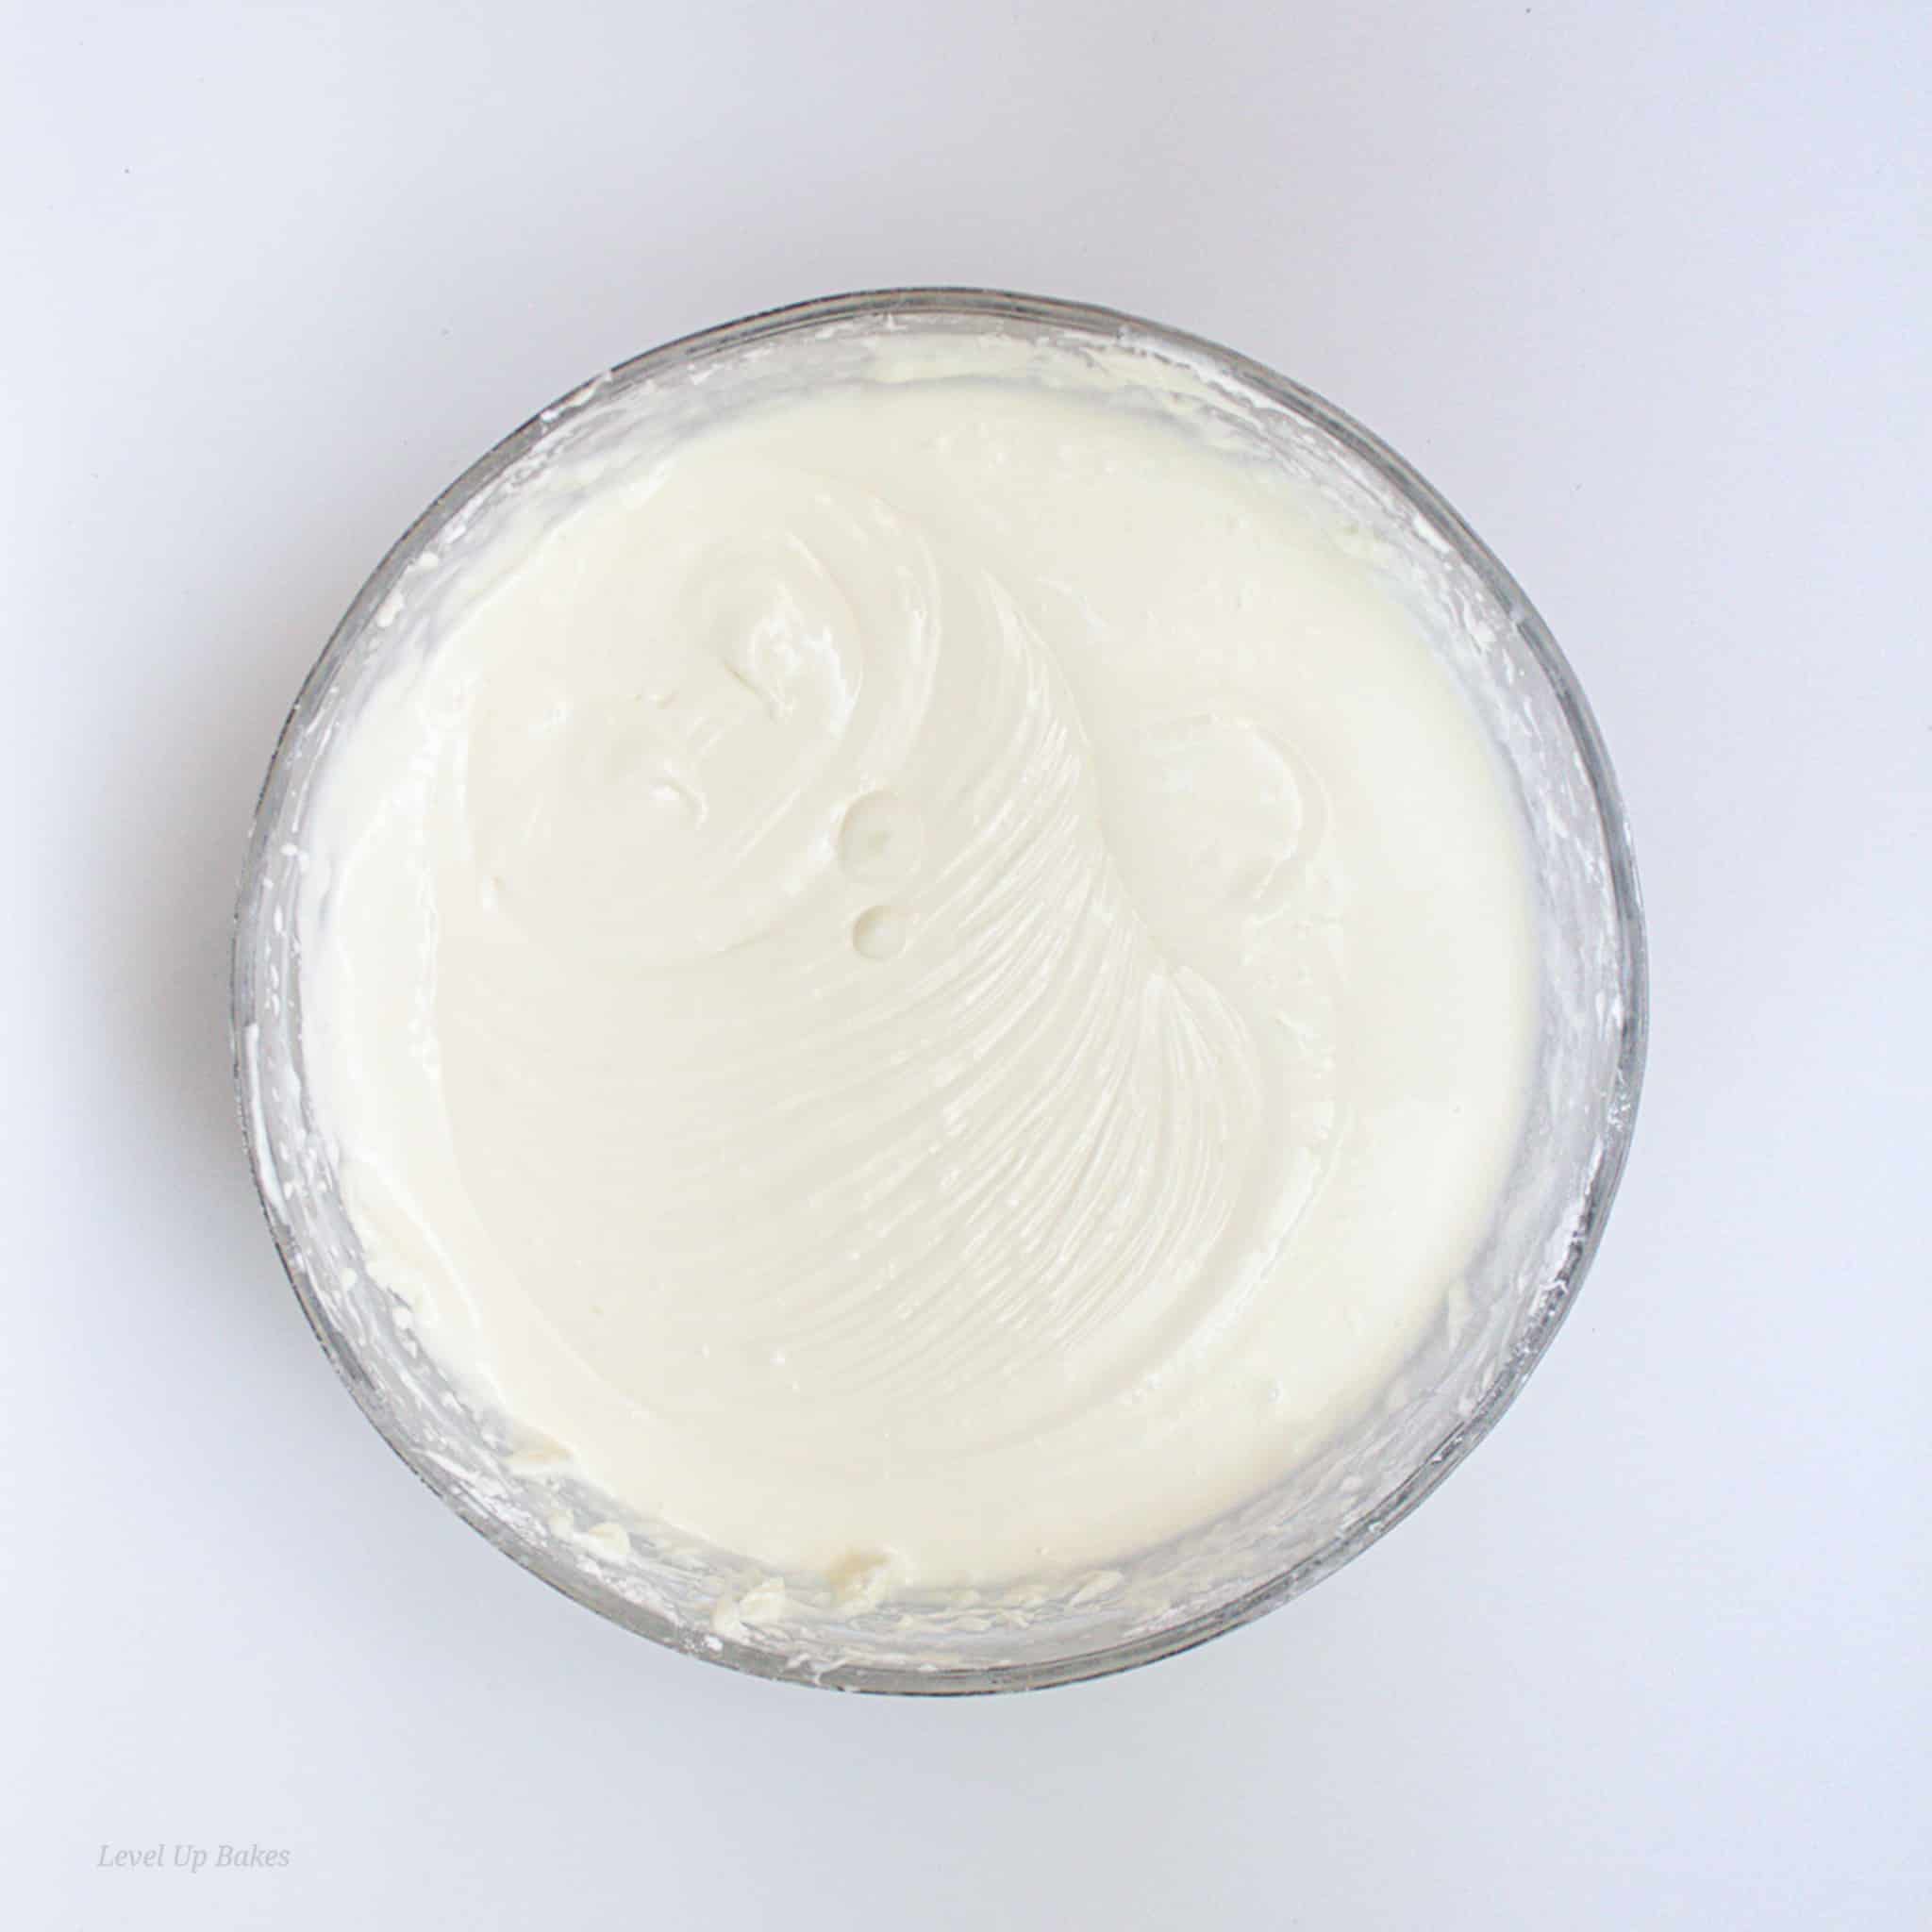
Step 6: Add the powdered sugar and the melted white chocolate. I would add the powdered sugar slowly just so you don't end up covered in sugar dust. Beat the cream cheese until smooth.
Step 7: Add the remaining heavy whipping cream to your cream cheese mixture. Use a hand mixer on low to combine. Once combined, mix on high for 3-4 minutes until the cream cheese mixture is thickened. Taste it, I dare ya!
Step 8: Place your remaining cookies in a large Ziploc bag. Squeeze out the air, I always have to say this... it's a habit, blame my kiddos Ha!

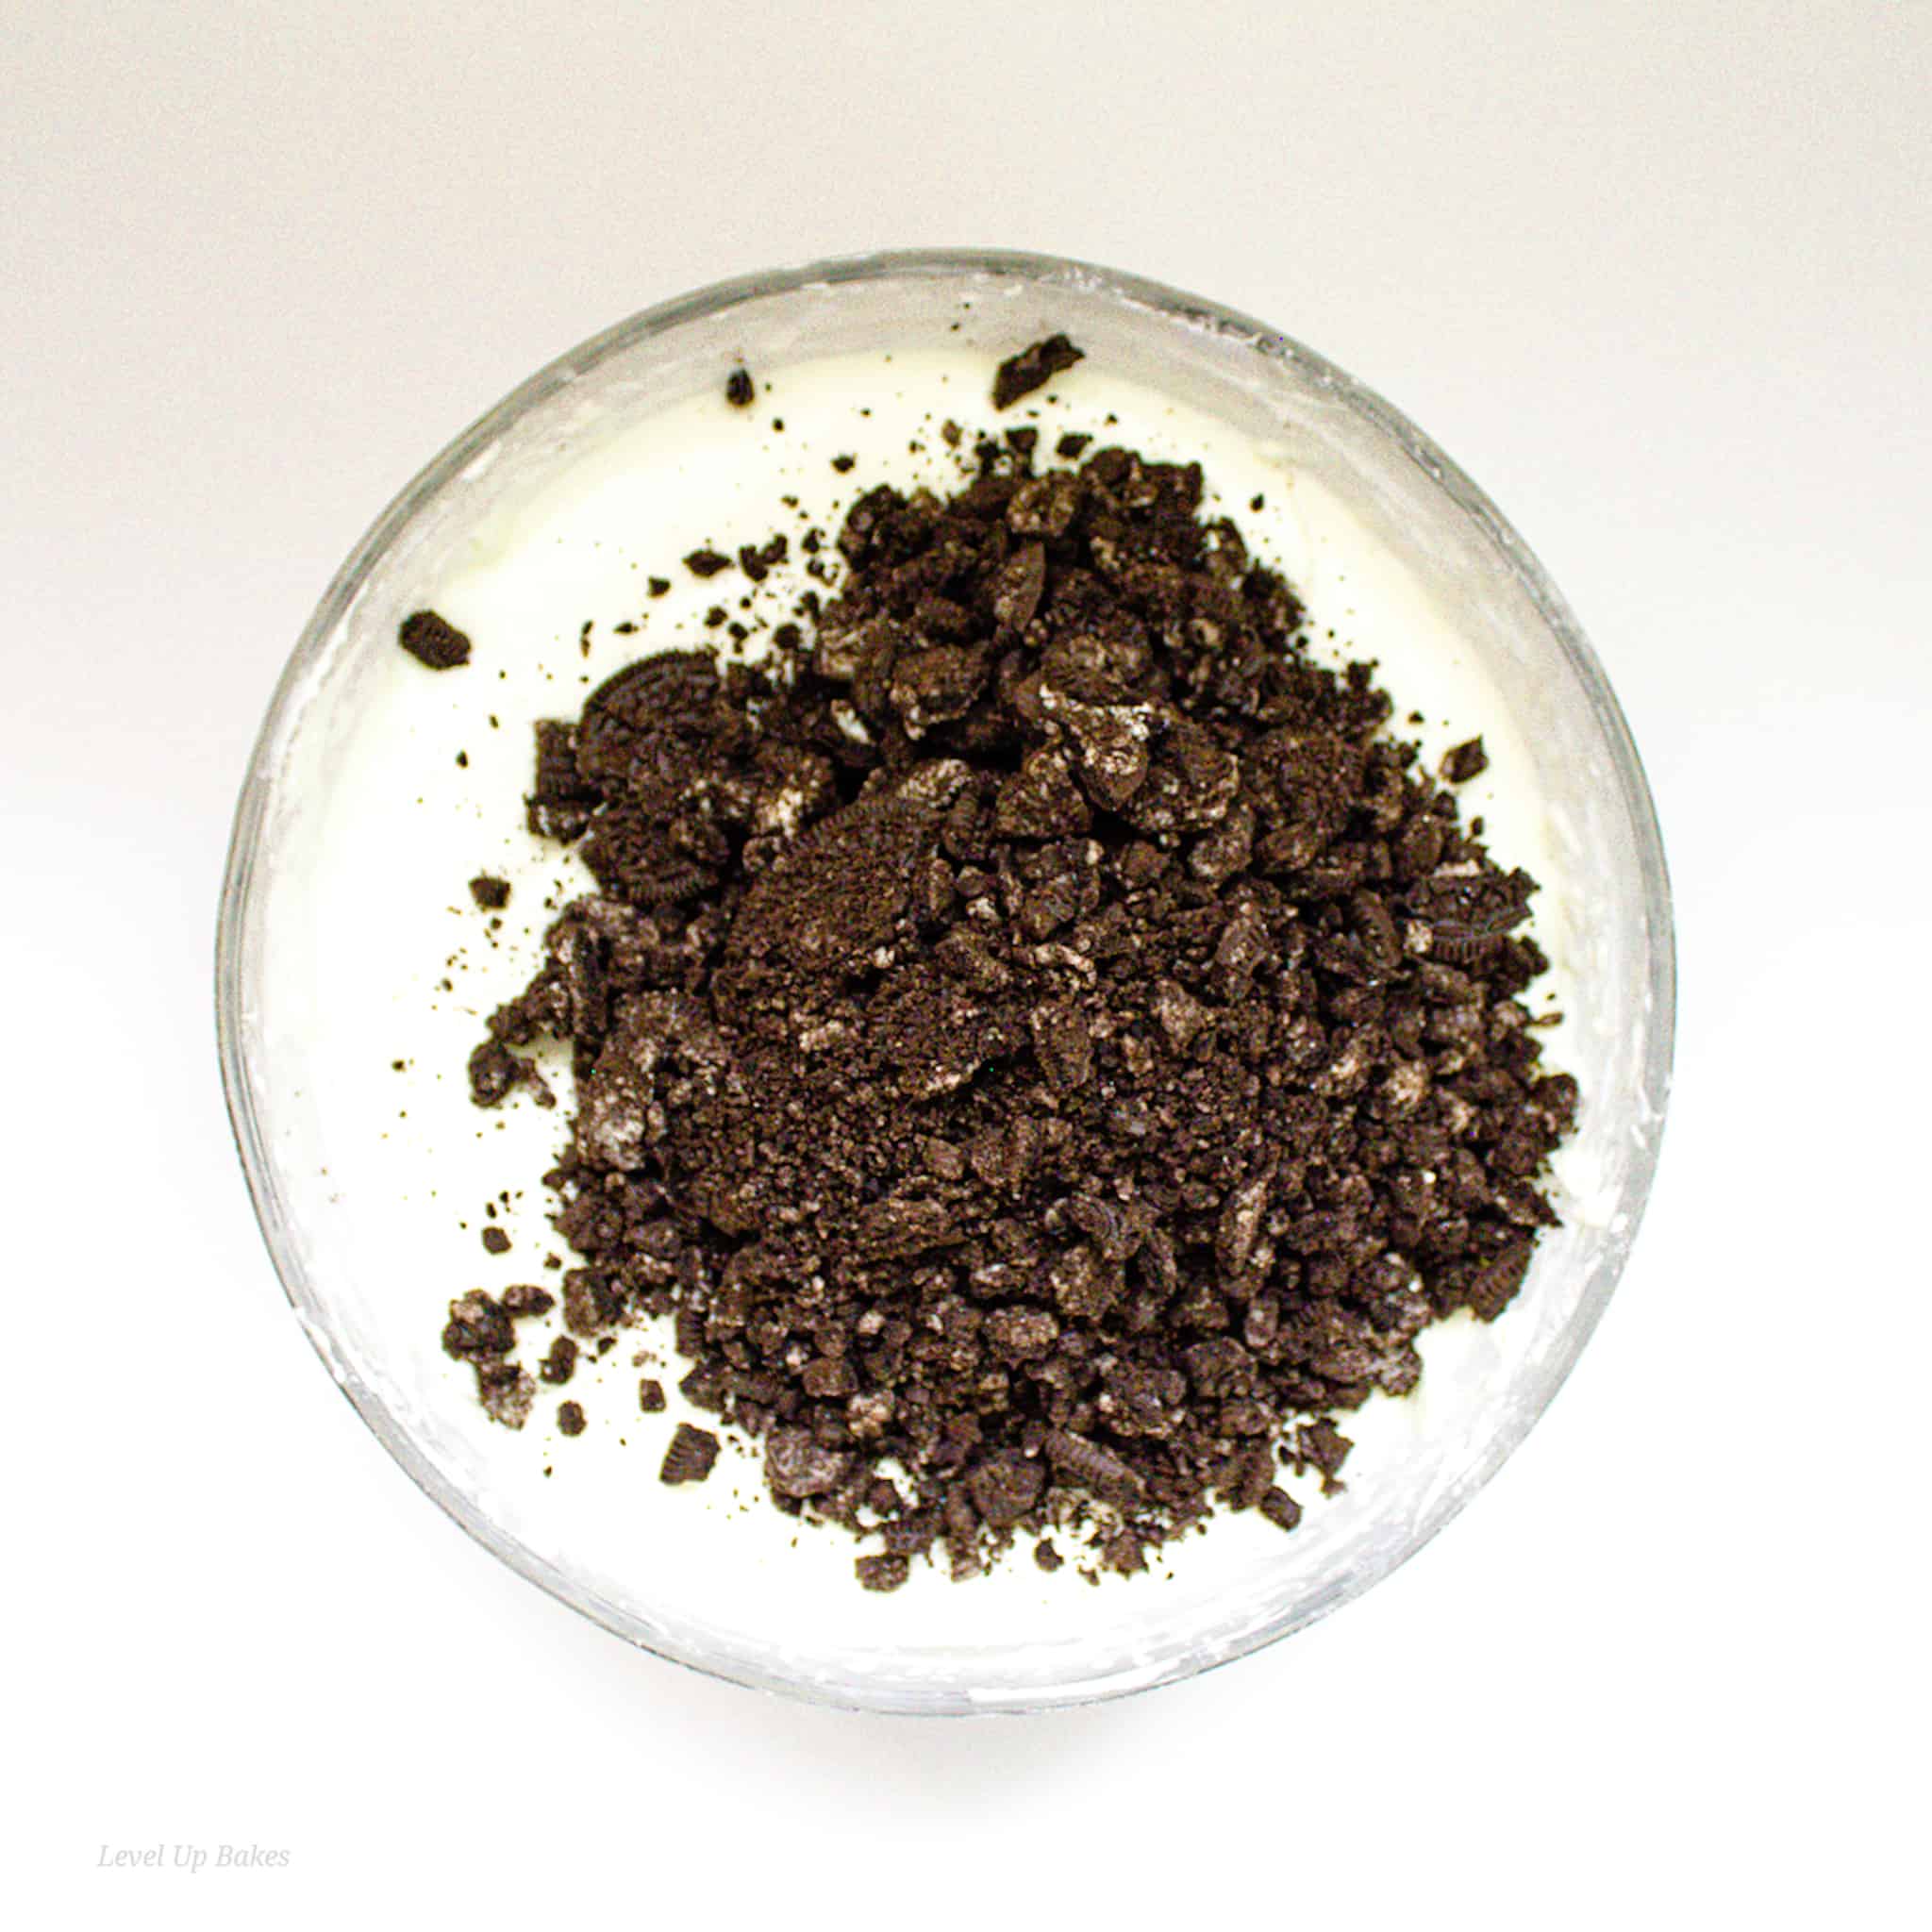
Step 9: Crush these cookies in the bag with a rolling pin. Leave some good-sized cookie crumbs for texture.
Fold the crushed Oreo cookies into the cheesecake filling.
Step 10: Pour the filling into your prepared pie crust. Spread out evenly then top the cream cheese layer with mini Oreo cookies in any fun design you'd like. Cover with foil and chill for at least 4 hours, best if overnight.

Step 11: When you're ready to serve, remove the springform pan. Slice and serve. Serving with a nice cold glass of milk is recommended, as this awesome dessert is very rich.
Level Up with a Top Tip!
Hint: If your cream cheese is still too cold, find some helpful tips over here: How to soften Cream Cheese
Recipe Variations
What I love most about recipes like this is how easy it is to customize to your liking. Options are endless.
- Use peanut butter Oreos, for that classic combination of peanut butter and chocolate.
- Top the whole cheesecake with a thick chocolate ganache.
- Add a packet if chocolate pudding or vanilla pudding to your cream cheese mixture. There actually might even be an Oreo flavored instant pudding.
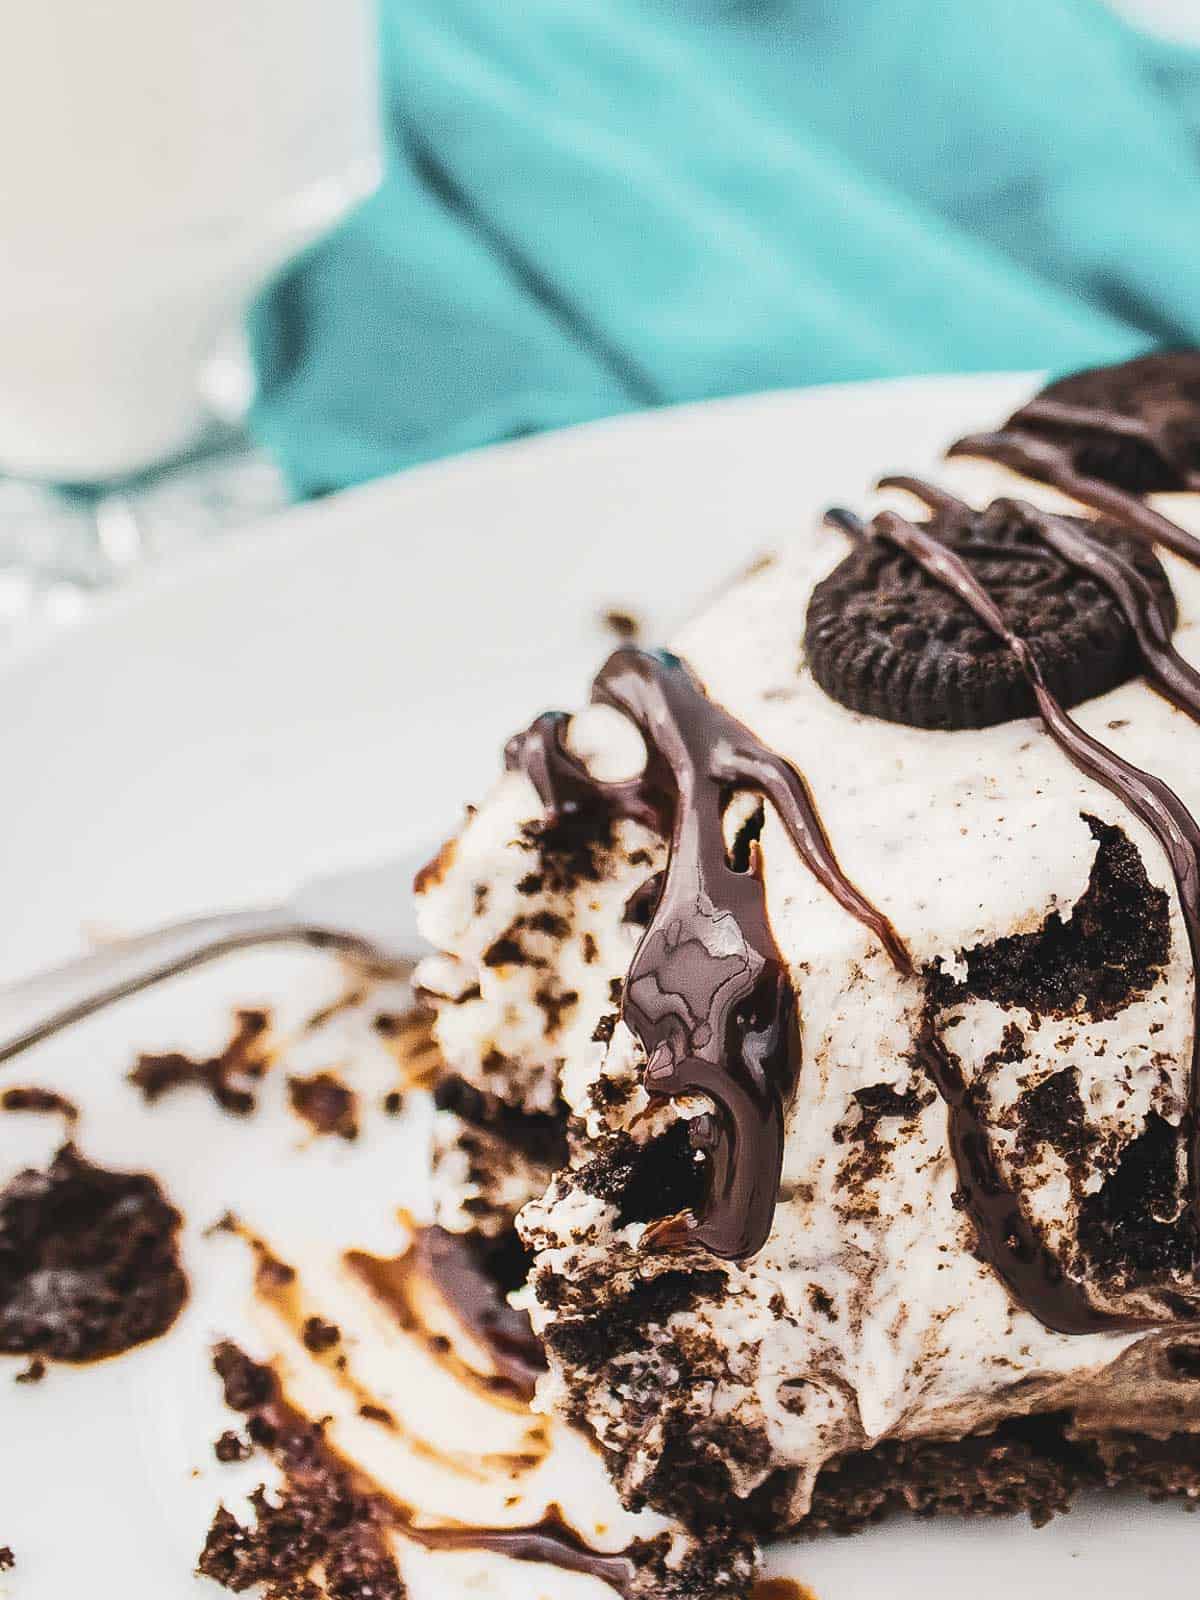
- Drizzle chocolate syrup, white chocolate syrup or even caramel over the top before serving.
- Make swirls of whipped cream around the top edges. Add any remaining crushed Oreos, or whole Oreos to the whipped cream dollops.
Storage Recommendations
Don't leave the Oreo Cheesecake out, unrefrigerated, for more than two hours. This can result in unwanted bacteria growth.
Store covered or in an airtight container in the fridge for 3 to 4 days.
Can I freeze a no-bake Oreo dessert? Wrap tightly in plastic wrap then store in a freezer-safe airtight container in the freezer for up to 1 month for the freshest taste. Separate slices with parchment paper, or store slices individually for a quick dessert you can just take out as needed.
Level Up With Expert Tips & Tricks
Did you know: If you don't have heavy cream, you can swap that out with Sour Cream.
Serve immediately after removing it from the fridge. Cream cheese softens quickly at room temperature.
Serve with a swirl of fresh whipped cream or chocolate drizzle on top.
Recipe FAQs
Before attempting to remove it from the springform pan, be sure the cheesecake has been chilled in the fridge for at least overnight. The key here is to make sure the cream cheese layer has been in the fridge long enough to set completely.
Undo the lock on the pan, and remove the sides. Using a sharp knife or metal spatula, gently place between the Oreo crust and the pan to loosen. Then use a couple of large spatulas under the Oreo crust to place the cheesecake onto a serving plate.
With most no-bake cheesecake recipes, adequate chilling time is the most important thing when making one. Chilling for a minimum of 4 hours is okay, overnight is best if you want chilled dessert to have perfectly sliced pieces.
Under chilled white chocolate and cream cheese filling will essentially be the consistency of a mousse. I bet any Oreo lover could overlook this, but this recipe calls for chilling so make sure not to skip it.
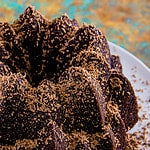
Similar Sweets
Looking for other recipes like this? Try these:


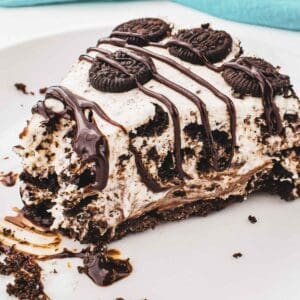
White Chocolate Oreo Cheesecake
Ingredients
- ¼ cup melted butter
- 50 Oreos
- Mini Oreos to garnish
- ½ cup white chocolate chips
- 24 oz cream cheese
- 1 ½ cups powdered sugar
- 1 ¼ cup heavy cream
Instructions
- In a food processor combine half, or 25, Oreos and melted butter. Pulse until combined and mixture starts to come together.¼ cup melted butter, 50 Oreos
- Using a springform pan, pour in your oreo mixture. Using your hands or the bottom of a glass, press the mixture into the bottom of the pan forming the crust. Make sure to keep a ½ lip up around the edge.
- In a microwave-safe bowl, melt the white chocolate chips and ¼ cup heavy cream. Stir every 20 seconds until melted and combined.½ cup white chocolate chips, 1 ¼ cup heavy cream
- Add to a large bowl the cream cheese, powdered sugar, and melted white chocolate. I would add the powdered sugar slowly just so you don't end up covered in sugar dust. Beat until combined.24 oz cream cheese, 1 ½ cups powdered sugar
- Add the remaining heavy cream to your cream cheese mixture. Use a hand mixer on low to combine. Once combined, mix on high for 3-4 minutes until mixture is thickened.
- Place your remaining 25 Oreos in a large Ziploc bag. (squeeze the air out of the bag) Crush these cookies in the bag with a rolling pin.
- Stir the crushed cookies into the cheesecake filling.
- Pour filling into your prepared pie crust. Top with mini oreo cookies.Mini Oreos to garnish
- Cover and chill for at least 5 hours, best if overnight.
- When ready, remove the springform pan... slice, and serve.
Beth
I love every single thing about this recipe. Oreo cheesecake is one of my favorite desserts, and I LOVE that I don't have to bake this. No water baths and frustration. yay!
Michelle
Love hos easy this cheesecake was to make! Can't go wrong with Oreos!
Gloria
I don't know of a single person that does not love Oreo cookies. This is the perfect dessert for summer entertaining. I know it will be a hit with my family and guests.
Claudia Lamascolo
My kids are big oreo fans and this really was a huge hit they loved it!
Beth Sachs
We love Oreos AND cheesecake in this house, so will definitely give this a try soon!
Caroline
I can see this being a crowd-pleaser for a potluck and always good being no bake too.